
Core and API
2D views, drawing areas, and layers
Build accurate product sides, constrain customer artwork, and manage every visible object as a layer.
Guide overview
Create product views at a real scale
Create one view for every printable side and set its physical width, height, and resolution. The canvas can use pixels internally while production dimensions remain expressed in centimeters or millimeters.
Drawing areas define where customers may place content. Markers can communicate folds, seams, safe zones, or alignment references without becoming printable artwork.
Create an empty view for each side.
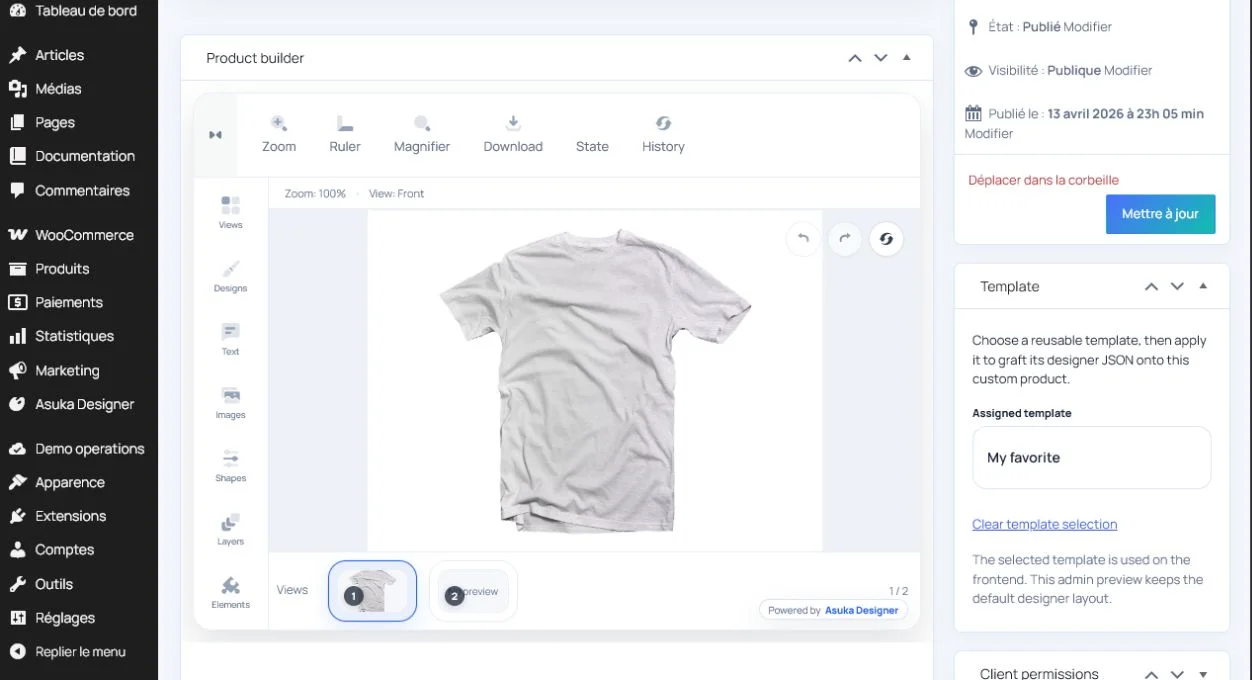
Enter the physical dimensions and output resolution.
Draw one or more customer areas.
Preview the view at desktop and mobile sizes.
Treat every object as a layer
Text, curved text, uploaded images, reusable designs, and shapes all appear in Layers. Reorder, duplicate, lock, hide, rename, or delete them from one place.
Locking prevents movement and resizing from both the canvas and contextual controls. Selection outlines follow the actual text or curved-text geometry.
Add one item from each enabled content module.
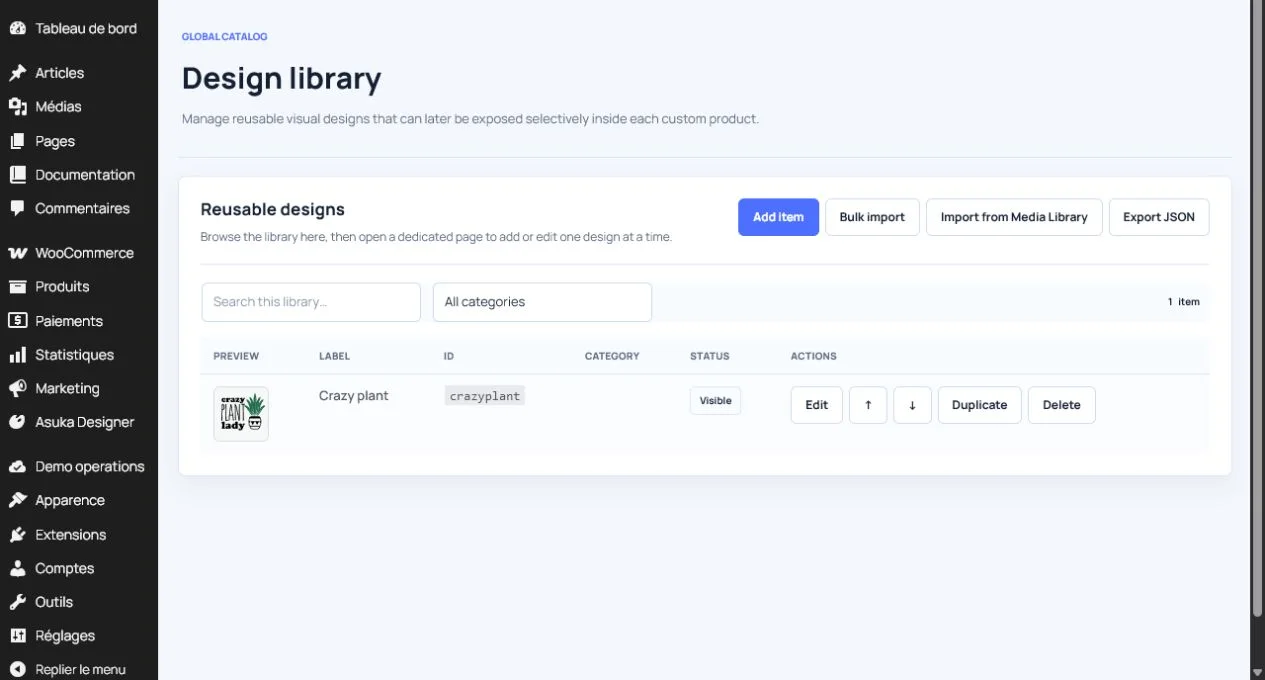
Use Layers to reorder and lock objects.
Confirm that hidden and locked states survive undo, redo, and a view change.
Prepare customer-safe content
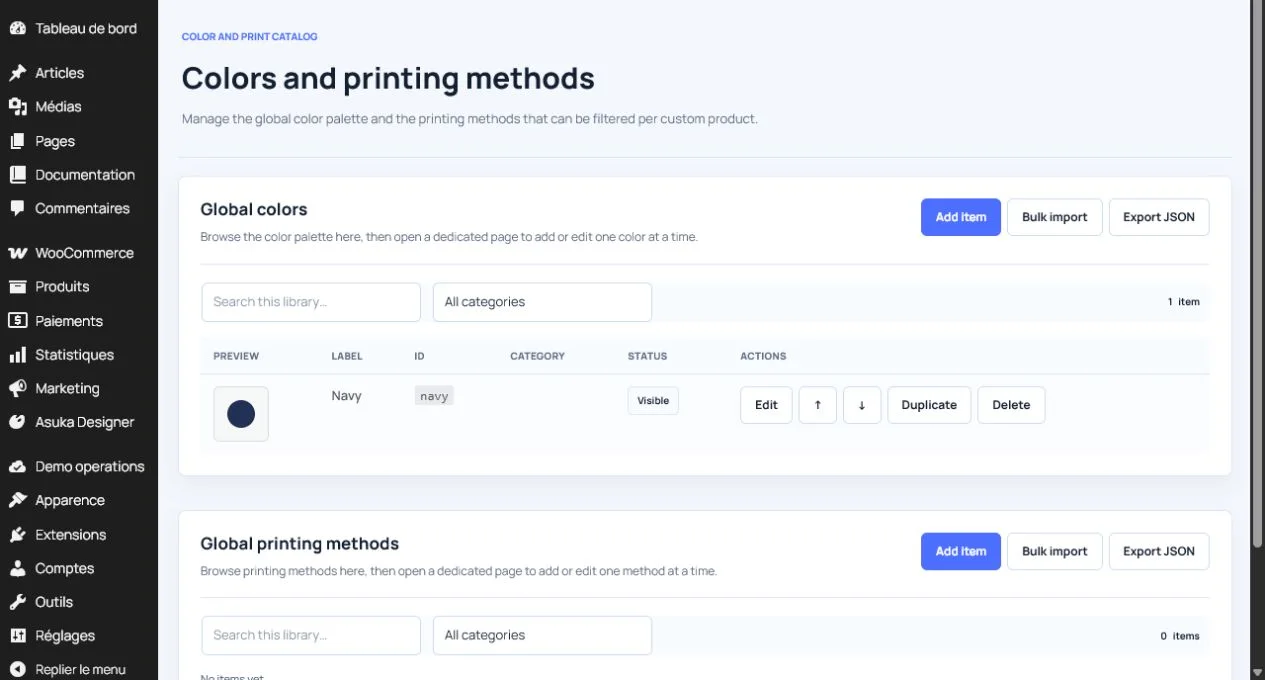
Use printing methods and color libraries to restrict production choices. Configure font sources, image providers, upload limits, and selectable elements before exposing the product.
Test clipping and projection near every drawing-area edge; the storefront preview and production output must agree.
Apply a printing method and palette.
Test a long text, a curved text, a vector design, and a customer image.
Generate a preview and compare it with the production export.