
Core and API
Getting started
Install a verified bundle, create a designer instance, and load the first product state.
Guide overview
Choose the delivery
Use the package exports for an application build, or the browser bundle for a script-based integration. Load the shared stylesheet before creating the designer.
Production hosts should serve the generated files from their own versioned assets. Do not reference a source workspace or a development server.
Choose package or browser delivery.
Load the core stylesheet and runtime.
Load Fabric or Babylon only when the product needs that renderer.
Create the instance
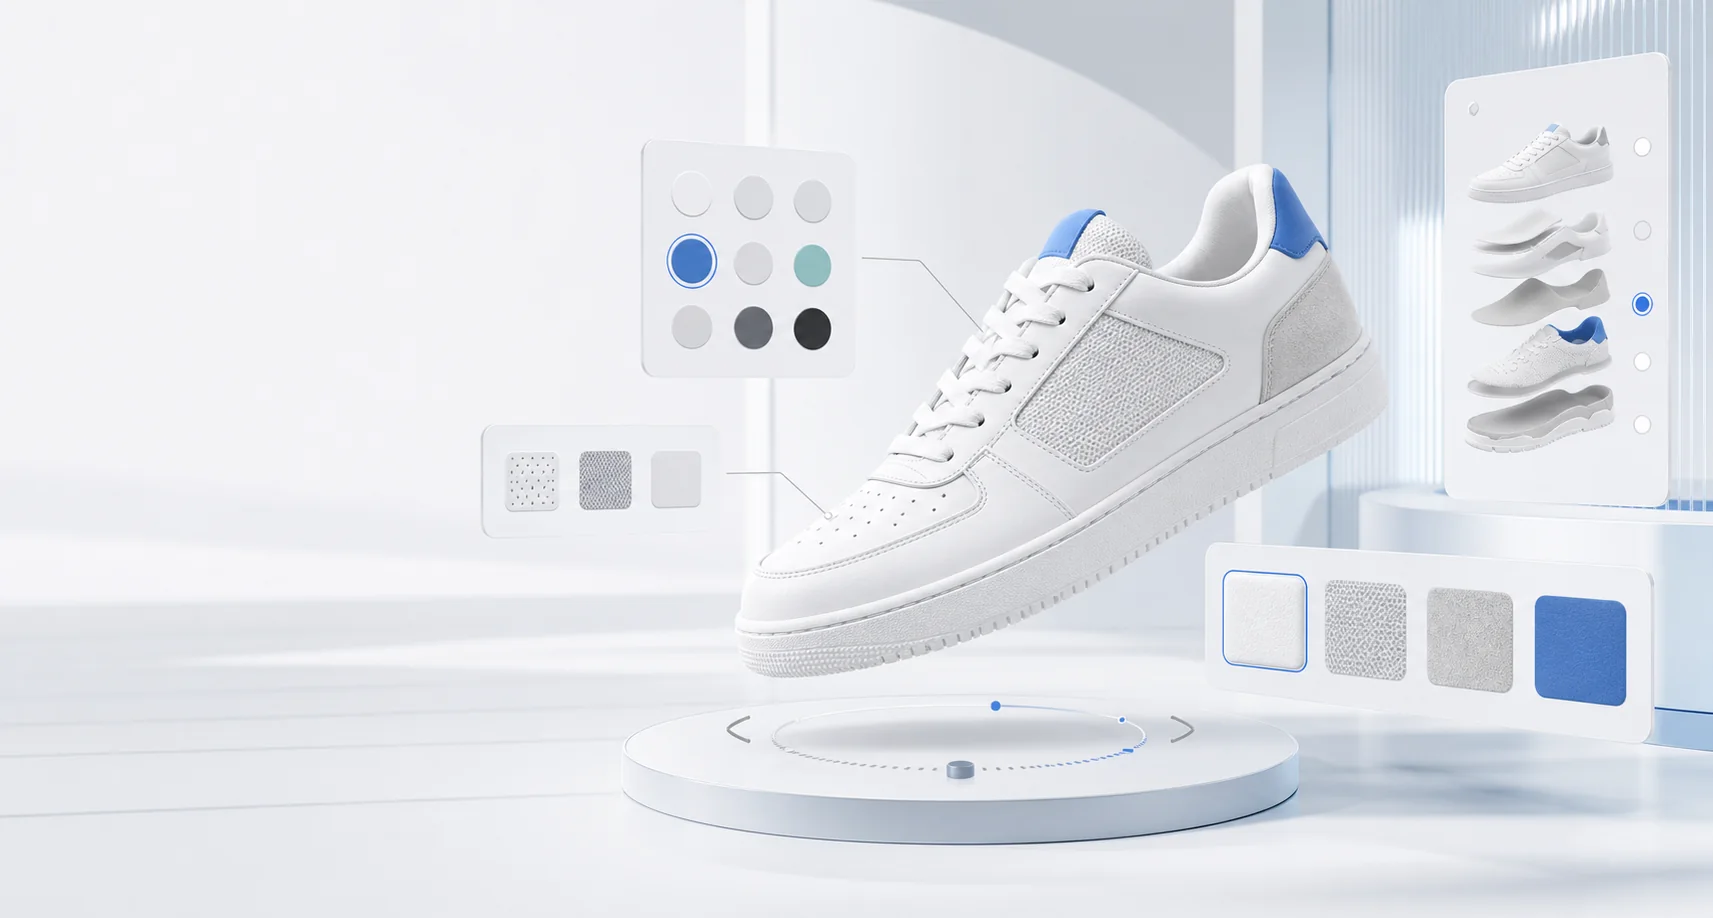
Mount Asuka Product Designer in a stable container with an explicit width and responsive height. Pass the initial product state, locale, permissions, upload adapter, and commercial API endpoint from the host.
The active view decides whether the 2D or 3D renderer is loaded; the host does not need a manual start-in-2D or start-in-3D switch.
Wait for the ready event.
Load or import the product state.
Subscribe to state and pricing changes.
Validate production behavior
Test desktop, tablet, and mobile sizes, keyboard navigation, uploads, history, view changes, and cart serialization. Verify that lazy 3D chunks are reachable from the final domain.
Exercise a complete product-to-order journey.
Record the runtime version with diagnostics.
Pin and roll back bundles as one release.