
Core and API
Create an accurate 2D product view
Set up one printable side from an empty canvas or directly from a product image while preserving real production dimensions.
Guide overview
Before you start
- The product image has a known aspect ratio.
- Physical output dimensions and target resolution are known.
- Administration permissions include view and element editing.
Expected result
The view has the correct aspect ratio, production scale, base element, and customer-safe canvas bounds.
Choose how the view starts
Create an empty view when the background is assembled from several elements. Use the image-first action when one product image should create both the view and its base element, similar to opening an image in a graphics editor.
The image-first action reads the media dimensions, creates a matching canvas, adds the image as an element, and keeps the result editable.
Open the Views module.
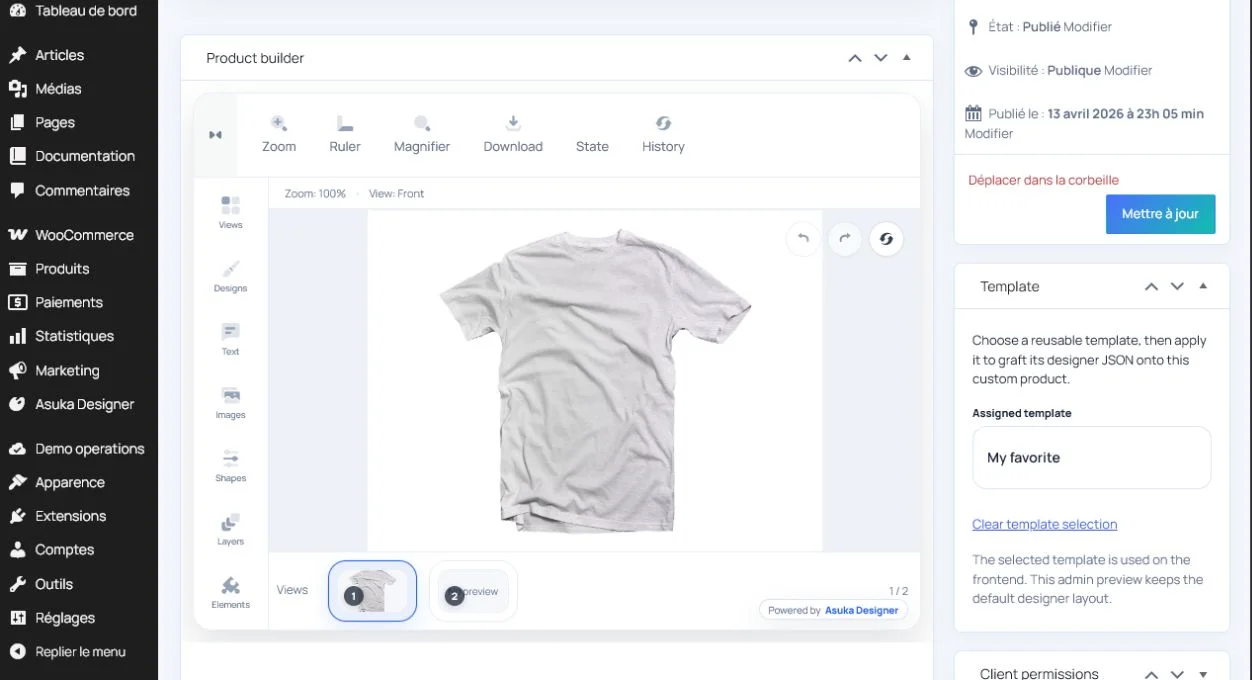
Choose an empty view or create from image.
Name the side clearly.
Confirm the detected aspect ratio.
Enter production dimensions
Canvas pixels describe editing resolution; physical width, height, and DPI describe output scale. Keep the same aspect ratio between the media, canvas, and physical dimensions to avoid stretching.
Create separate views for front, back, side, or detail areas instead of packing unrelated print surfaces into one canvas.
Enter physical width and height.
Set the intended output resolution.
Check the calculated pixel size.
Save before adding customer content.
Prepare the base image
Position the product element at the origin or intended offset, then lock it so customer actions cannot move it. Non-selectable elements can still be selected from the Elements module in development mode for later adjustment.
Preview at small and large container sizes to ensure the product remains framed and controls do not cover the editable area.
Fit the base element to the view.
Lock and mark it as non-customer-editable.
Add drawing areas or markers.
Test desktop and mobile previews.