
WordPress and WooCommerce
Reusable pricing rules
Create production-aware surcharges once and attach them to compatible WordPress custom products.
Guide overview
Create the rule
Open Asuka Designer > Pricing rules and define the condition, action, amount, currency behavior, priority, and active state. Use readable names that describe the business rule rather than the implementation.
Rules may respond to selected options, assets, quantities, dimensions, printing methods, or other supported configuration facts.
Create a rule.
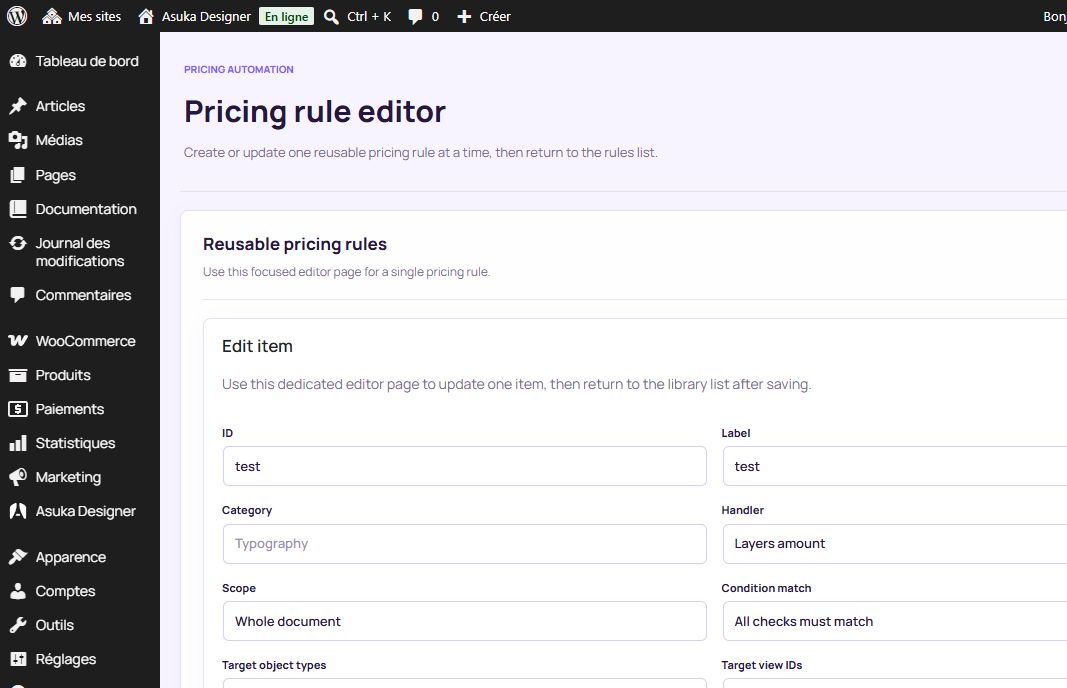
Add the narrowest useful condition.
Choose fixed, percentage, or supported calculated adjustment.
Save it inactive until tested.
Attach and test it
Edit the reusable custom product and select the pricing rules it should use. The product base price stays owned by WooCommerce; Asuka adjustments are added to the live breakdown.
The server recalculates the signed customization before cart insertion, checkout, order creation, and cart edits.
Attach the rule.
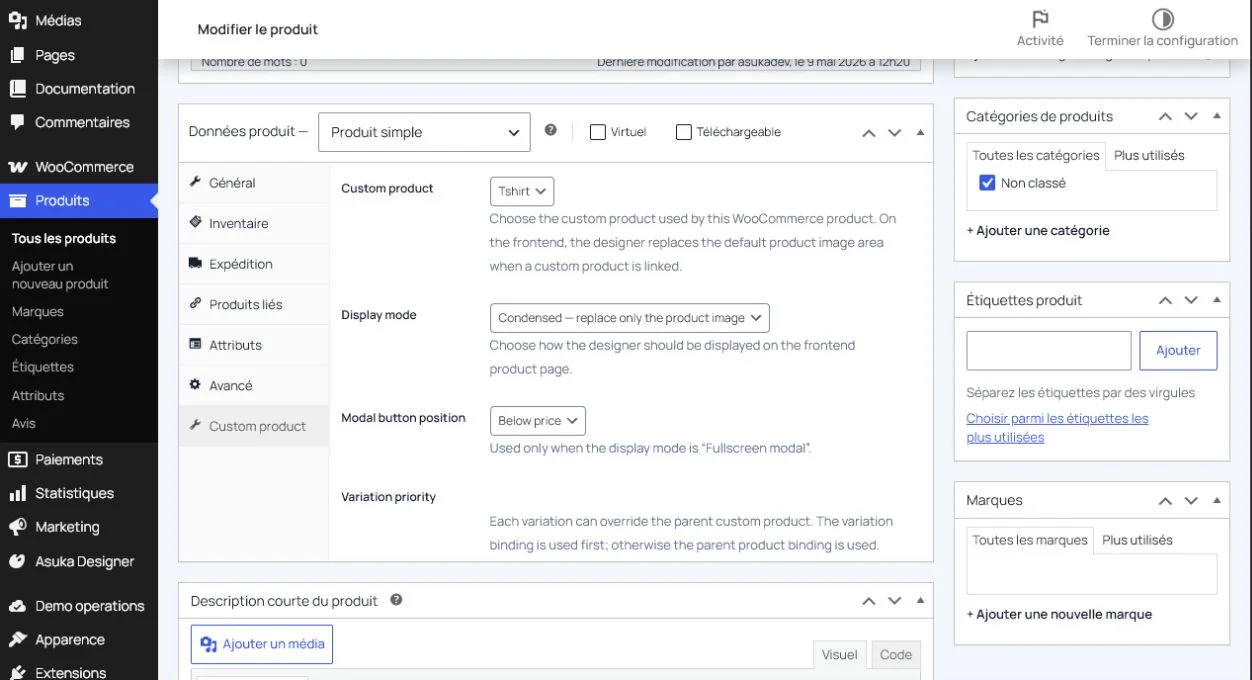
Test matching and non-matching choices.
Compare designer, cart, checkout, and order totals.
Activate the rule.