
WordPress and WooCommerce
Installation and first connection
Install the plugin, verify the free core, and connect a portal license when premium capabilities are needed.
Guide overview
Install the plugin
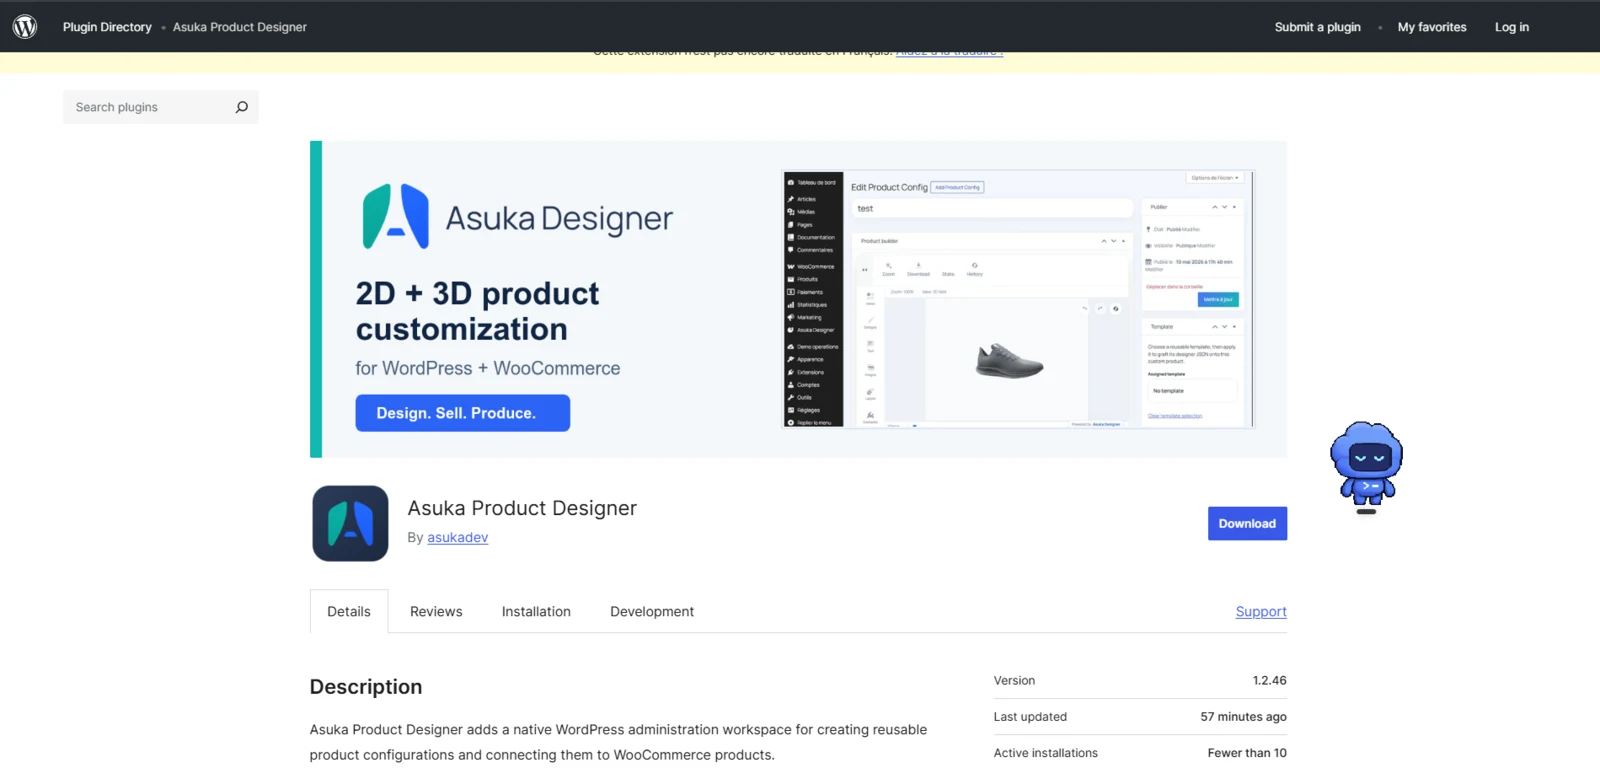
Upload the WordPress.org ZIP or install it from Plugins, then activate Asuka Product Designer. WooCommerce is required only for native product, cart, checkout, and order integration.
The free plan includes the complete 2D and 3D core. Premium files remain protected by entitlements even when the compatible integration code is present.
Activate Asuka Product Designer.
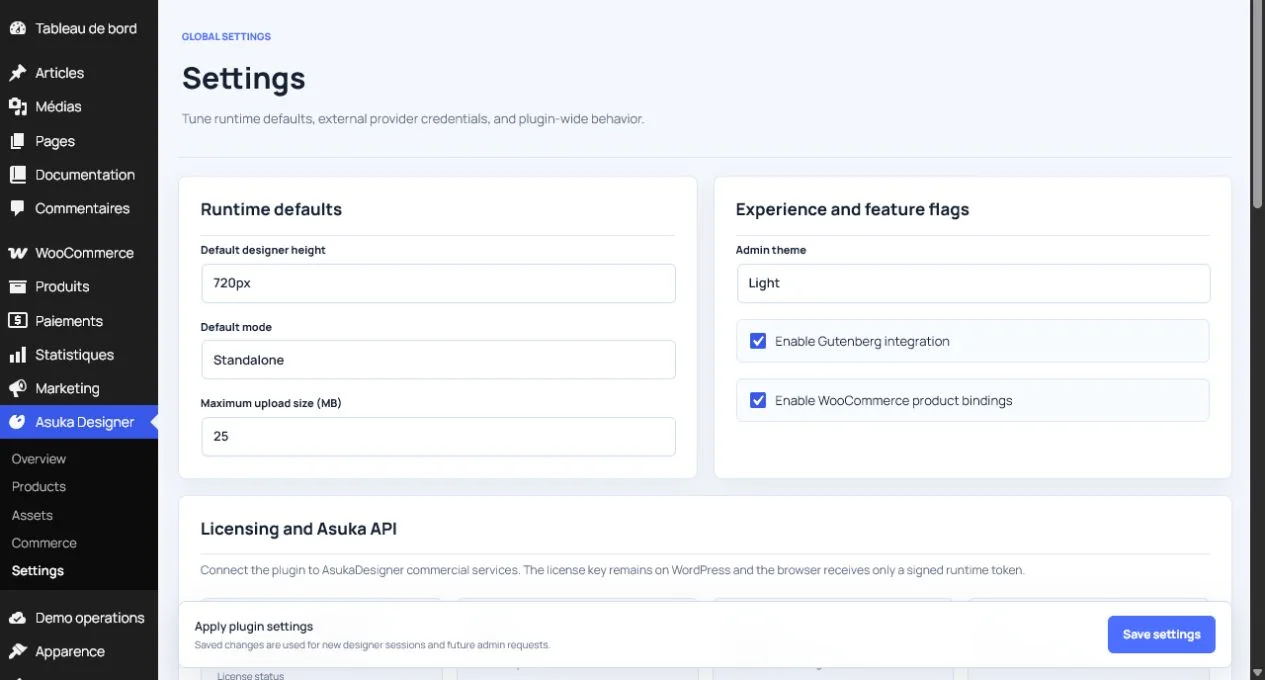
Open Asuka Designer > Settings.
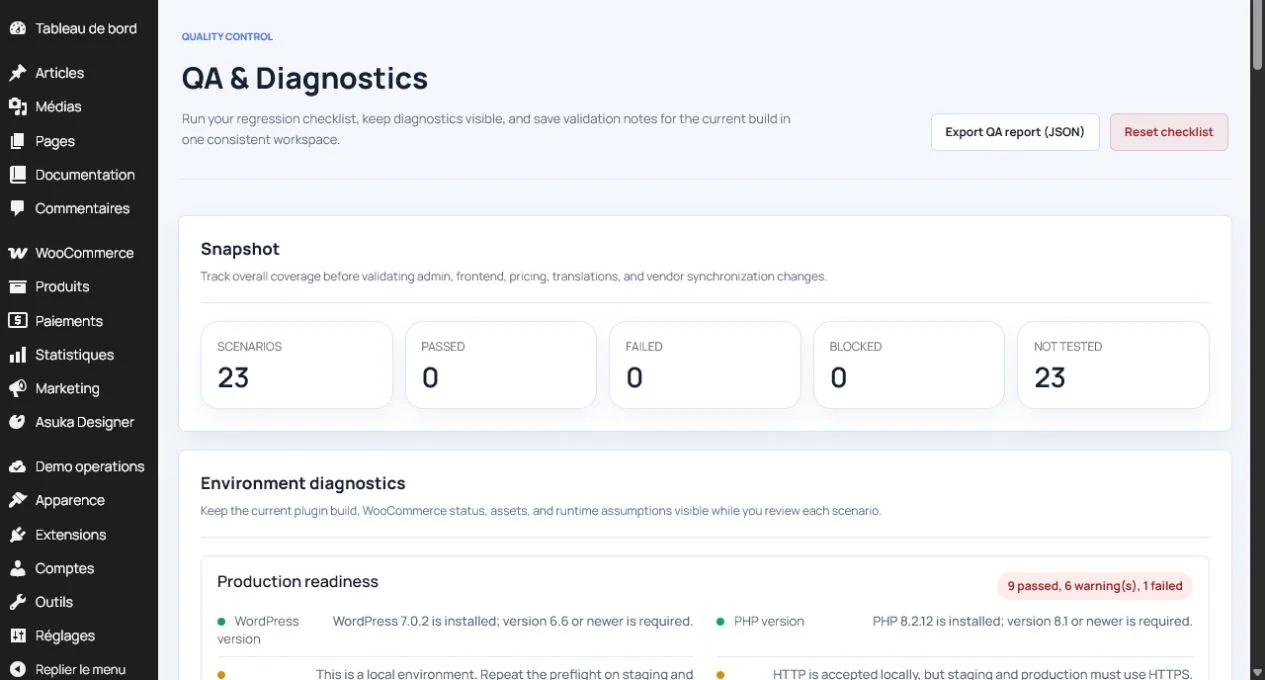
Run the environment diagnostics.
Enter the portal license key only for a paid WordPress plan.
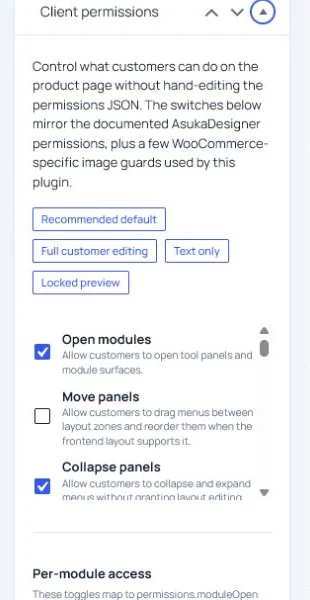
Secure defaults
The licensed domain is derived from the activated site and cannot be changed by ordinary client administrators. Commercial requests use the fixed Asuka API endpoint.
Storefront customers receive Variations by default when they select a configurable part. Element editor, pricing rules, pricing administration, state, assembly, and parameters remain hidden unless explicitly allowed.