
Core and API
Prepare and import a configurable GLB model
Turn a production-ready GLB into a responsive 3D view with stable parts, materials, camera framing, and predictable performance.
Guide overview
Before you start
- A valid GLB file opens in an independent viewer.
- Mesh and material names are stable.
- Textures are embedded or served from durable HTTPS URLs.
Expected result
The model loads only in its 3D view, rotates and zooms correctly, and exposes the intended configurable parts.
Prepare the source model
Apply transforms, set a useful origin, remove hidden geometry, merge only parts that never vary independently, and use real-world scale. Keep meaningful mesh and material names because configurations reference them.
Compress geometry and textures conservatively. A smaller file improves first load, but excessive texture compression can damage close product previews.
Apply transforms in the modeling tool.
Remove unused nodes and materials.
Embed optimized textures.
Validate the final GLB in a neutral viewer.
Create the 3D view
Add an empty 3D view, upload the GLB, then let the builder inspect nodes and materials. Set the default camera target, zoom limits, environment, shadows, and ground behavior for the actual product scale.
Do not load the GLB on unrelated 2D views; the runtime lazy-loads 3D code and media when the 3D view becomes active.
Create the 3D view.
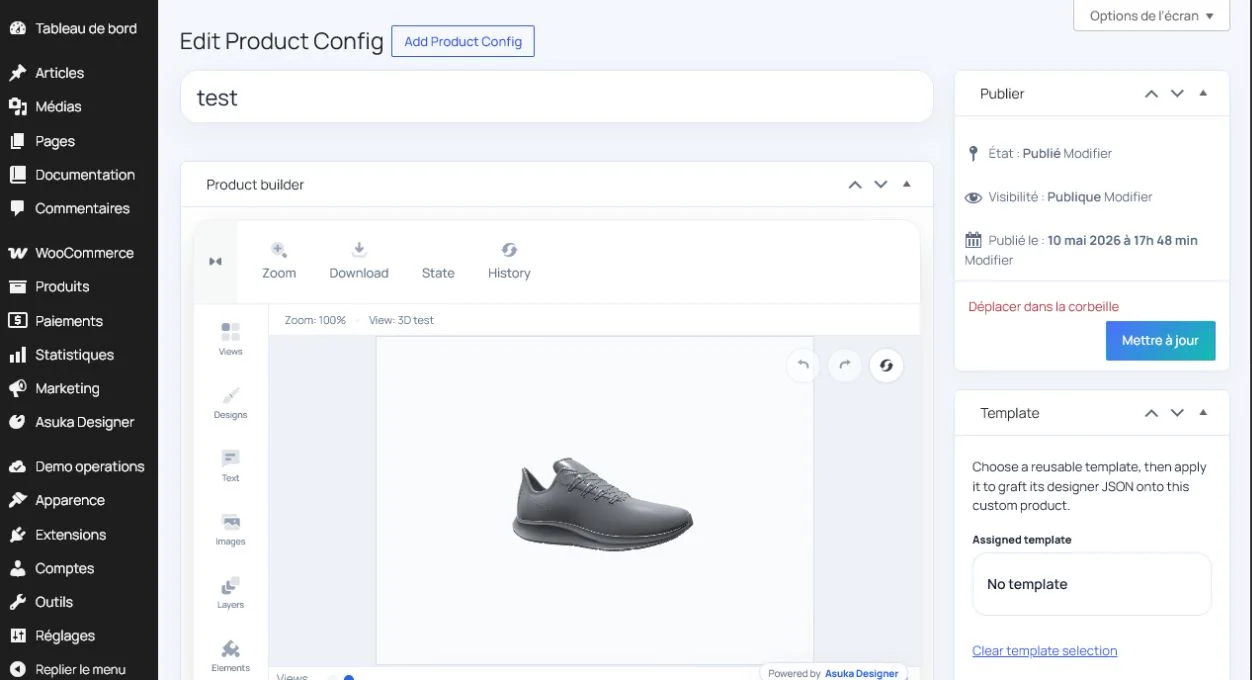
Attach the GLB.
Frame the camera.
Save and reopen the product.
Validate interaction and performance
Test rotation, zoom, mobile gestures, material changes, decals, view switching, and restoration from saved state. Watch network and memory behavior during repeated 2D/3D changes.
If a model is blank, inspect the GLB request, MIME type, CORS, camera bounds, and browser WebGL support before changing product data.
Test desktop and touch controls.
Change every configurable material.
Switch between 2D and 3D views.
Run diagnostics on the production host.