
WordPress and WooCommerce
Create drawing areas and markers
Define exactly where customers can place artwork using rectangles, SVG masks, or shapes generated from product elements.
Guide overview
Before you start
- A 2D view and base element are saved.
- The printable or customizable boundary is known.
- The Drawing areas module is present in the administration template.
Expected result
The area overlays the product without replacing it, clips the correct content, and remains synchronized with the module list.
Choose the right source
Use a rectangle for a regular surface, import a sanitized SVG for a precise irregular path, or create the area from an existing element. The element picker in the Drawing areas module works even when the element itself is not selectable on the canvas.
Drawing areas are part of the Starter feature set and can be exposed according to the active plan and permissions.
Open Drawing areas.
Choose rectangle, SVG, or From element.
Select the source from the element list.
Confirm that a separate overlay is created.
Align and constrain
Position the area over the base image, then configure clipping, movement bounds, insertion behavior, bleed, and safe margins. Creating an area from an element does not remove or modify the source element.
Use markers for folds, seams, cut lines, or alignment references that should guide the editor but not print as customer artwork.
Align the overlay precisely.
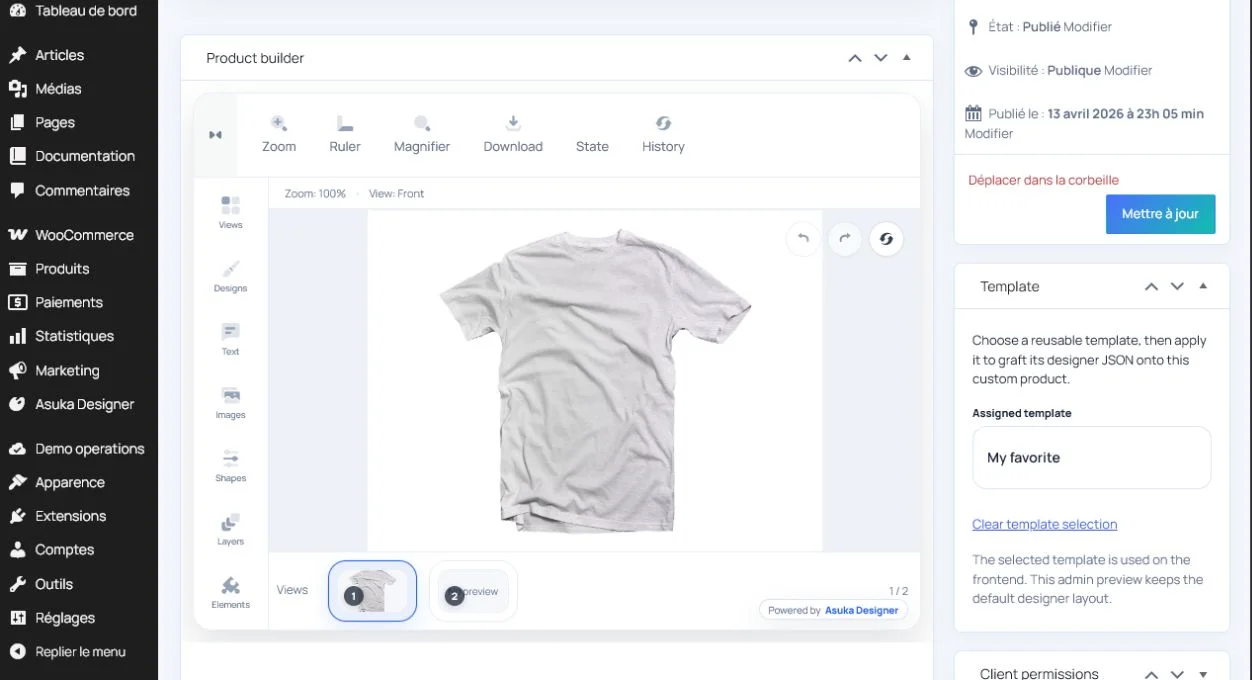
Set clipping and customer bounds.
Add non-printing markers.
Lock the configuration.
Verify list and history behavior
Add content across each edge and compare canvas, preview, and production output. Delete the selected area and confirm it disappears immediately from both canvas and list; undo must restore both.
Reload the product and switch views to catch stale selection or list synchronization problems.
Test every edge.
Delete and undo the area.
Switch views.
Save and reload.