
WordPress and WooCommerce
Custom products, views, and variations
Build a reusable designer configuration and assign it to one or more WooCommerce products or variations.
Guide overview
Create the reusable product
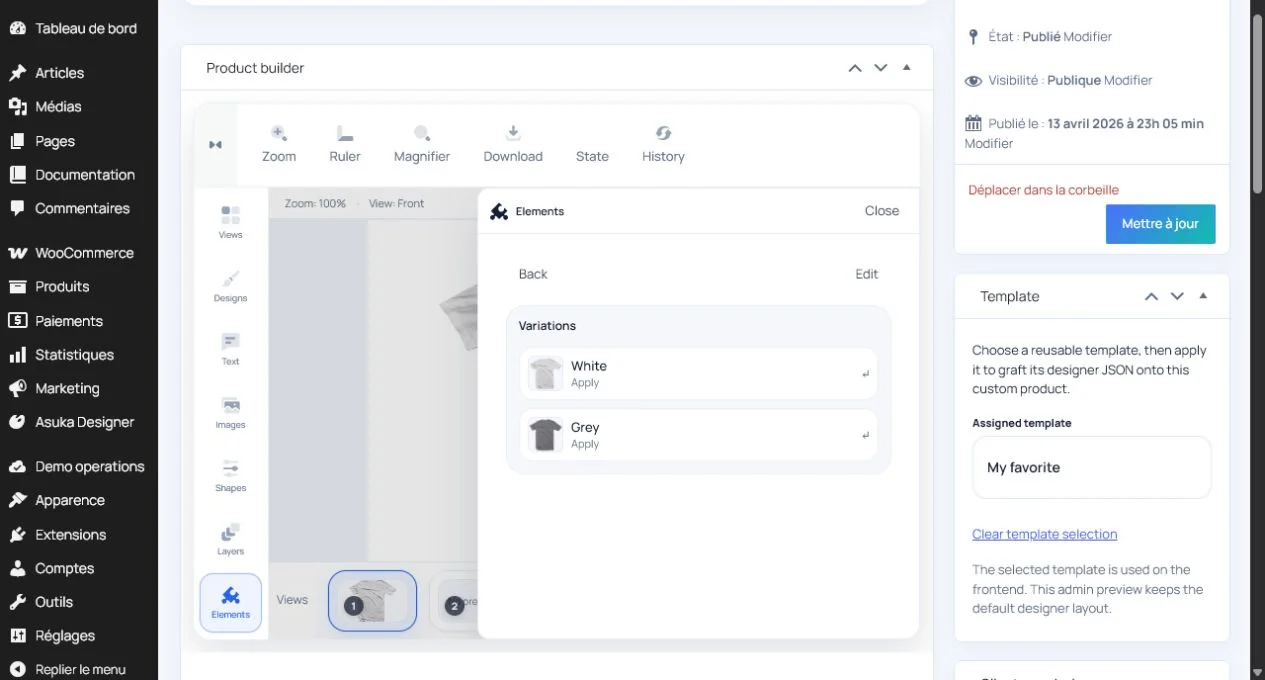
Open Asuka Designer > Custom products and create a new entry. New products intentionally contain no default view.
Add every 2D side or 3D scene, then configure elements, editable areas, markers, variations, parameters, pricing rules, and customer permissions.
Name the product for administrators.
Add and verify views.
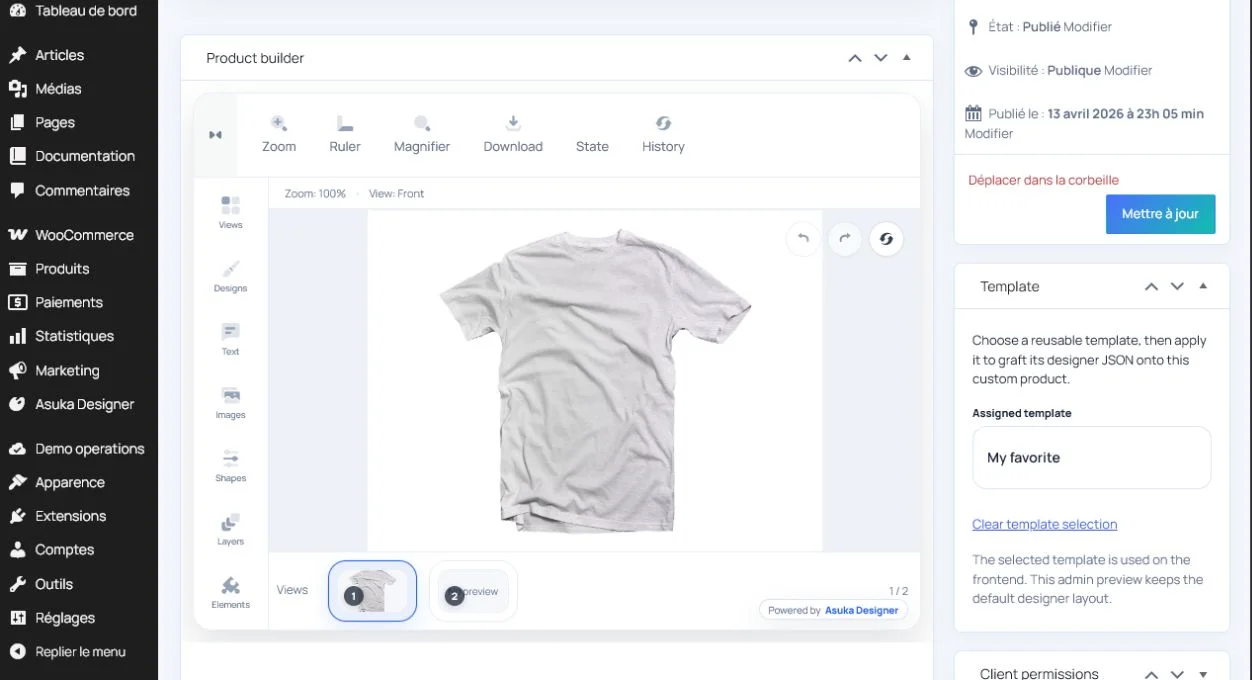
Choose the customer template and theme.
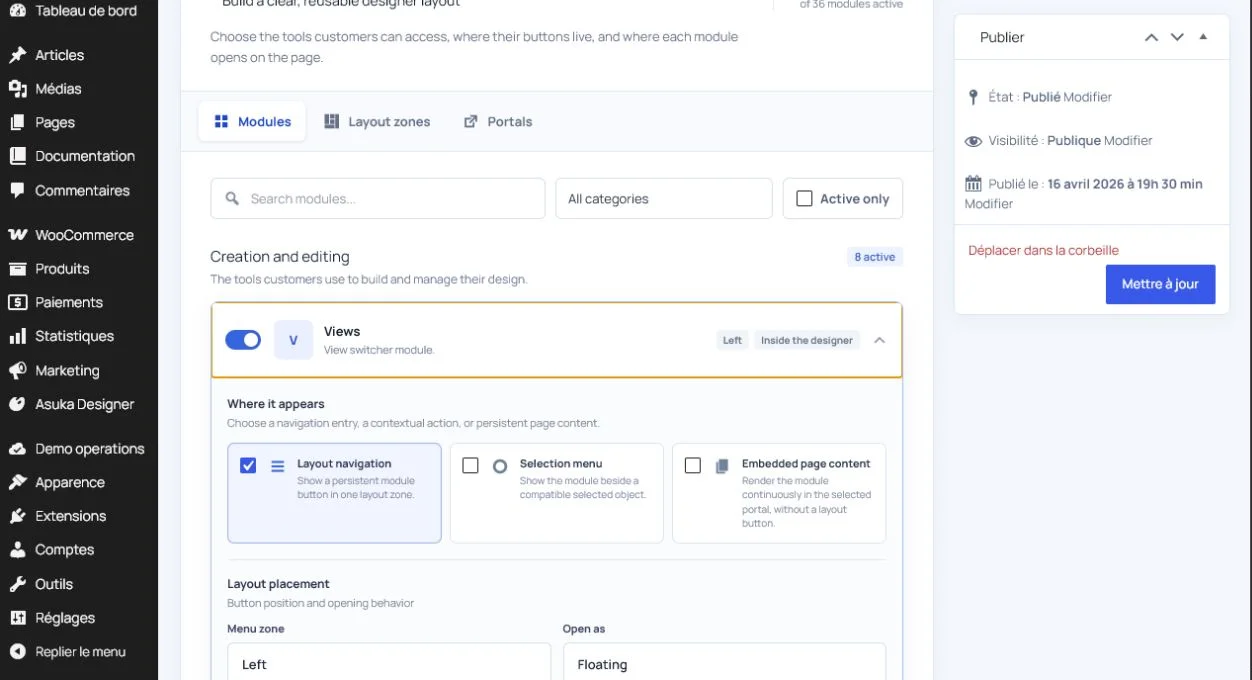
Publish only after the storefront preview is complete.
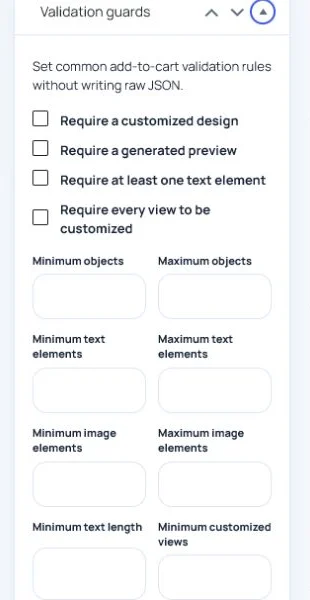
Link WooCommerce
Use the Asuka Designer panel on the WooCommerce product edit screen. A simple product can use one configuration; each WooCommerce variation can point to a different custom product.
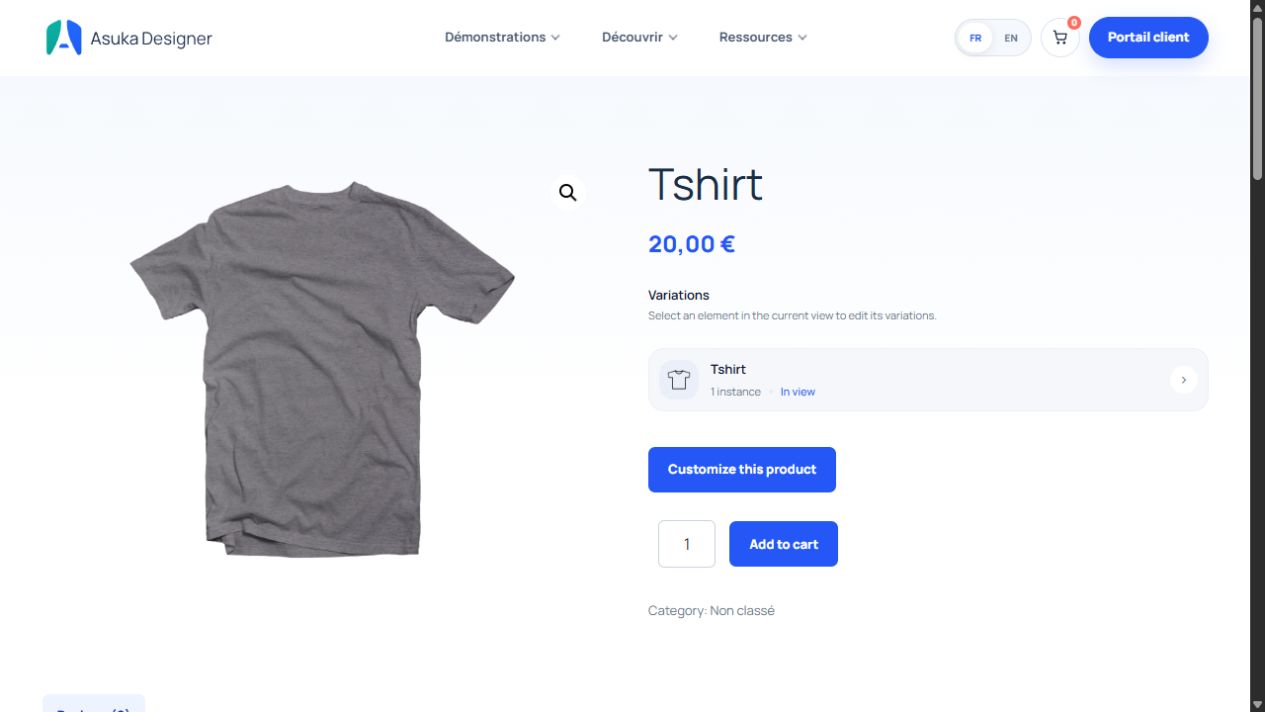
On the storefront, the designer replaces the product image area and reuses the native quantity and add-to-cart flow.
Save the product link.
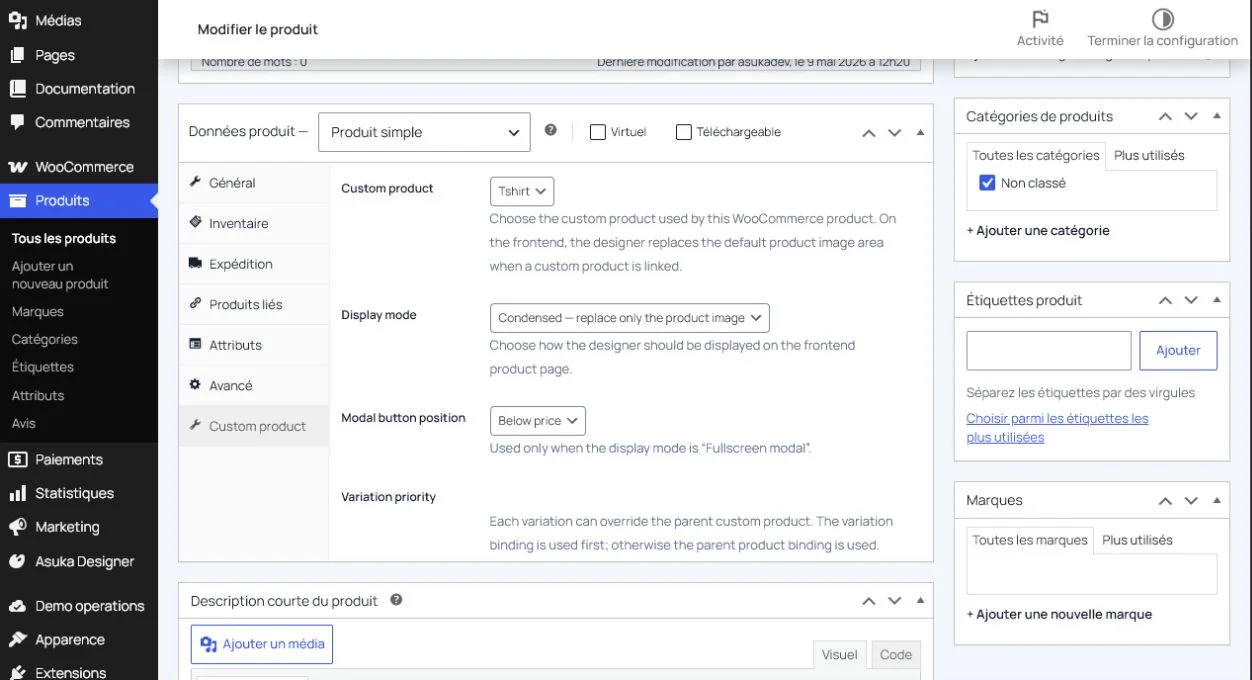
Test every commerce variation.
Add a design to the cart.
Open Edit customization from the cart.