
WordPress and WooCommerce
Create a 3D custom product
Import a GLB, configure its camera and parts, and expose interactive materials or variations without loading 3D on unrelated views.
Guide overview
Before you start
- The GLB has been validated in a neutral viewer.
- Meshes and materials use stable names.
- Texture sizes are suitable for web delivery.
Expected result
The product rotates and zooms smoothly, restores its selected options, and keeps core 3D available on the free plan.
Prepare and upload the model
Apply transforms and real-world scale in the modeling tool. Remove unused geometry, cameras, animations, and materials unless the product needs them. Separate every part that customers may configure independently.
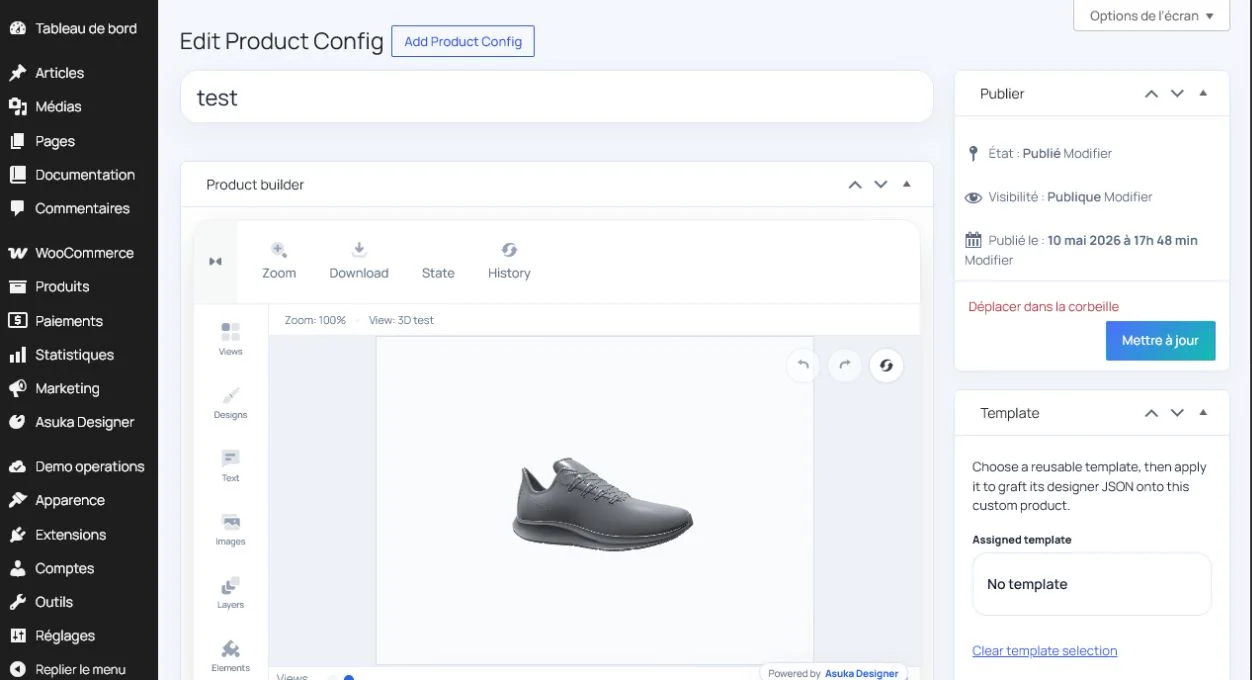
Create an empty 3D view in the builder and upload the final GLB through WordPress media handling.
Validate the GLB outside WordPress.
Create a 3D view.
Upload and attach the model.
Wait for part and material inspection.
Frame the product and expose choices
Set the camera target, initial angle, zoom range, environment, shadow, and ground settings for the actual model size. Create elements or variation groups for the meshes and materials that customers may change.
The core 3D renderer does not require a paid license; premium construction modules remain governed by their own capabilities.
Frame the default camera.
Identify configurable parts.
Create material or visibility choices.
Set explicit defaults.
Test the final runtime
Switch repeatedly between 2D and 3D views, rotate and zoom on touch devices, save a non-default selection, and reopen it. The GLB request should occur only when its 3D view is activated.
If the model is blank, use Settings > Diagnostics and inspect media URL, MIME type, CORS, WebGL support, and camera bounds.
Test mouse and touch controls.
Save a configured variation.
Reload the storefront.
Confirm lazy model loading.