
WordPress and WooCommerce
Create a 2D custom product
Build a reusable front, back, or detail view with accurate output dimensions and customer-safe editing tools.
Guide overview
Before you start
- Asuka Product Designer is active.
- An administrator can edit Custom products.
- A clean product image and production dimensions are available.
Expected result
A published custom product contains a correctly scaled 2D view, locked base media, and the intended customer modules.
Create the reusable configuration
Open Asuka Designer > Custom products and add a product with a clear internal name. A new custom product starts without a view so it never publishes an accidental placeholder canvas.
Choose the customer template and theme only after the product workflow is known; these presets can be changed later without rebuilding the view.
Create and name the custom product.
Keep it unpublished while building.
Open the Product builder.
Confirm that no default view exists.
Create the first view
Use Add view for an empty canvas, or create a view directly from an image when the uploaded media should also become the base element. Enter the physical width, height, and output resolution without changing the image ratio.
Name each face for customers and production teams, such as Front, Back, Left side, or Label.
Open Views.
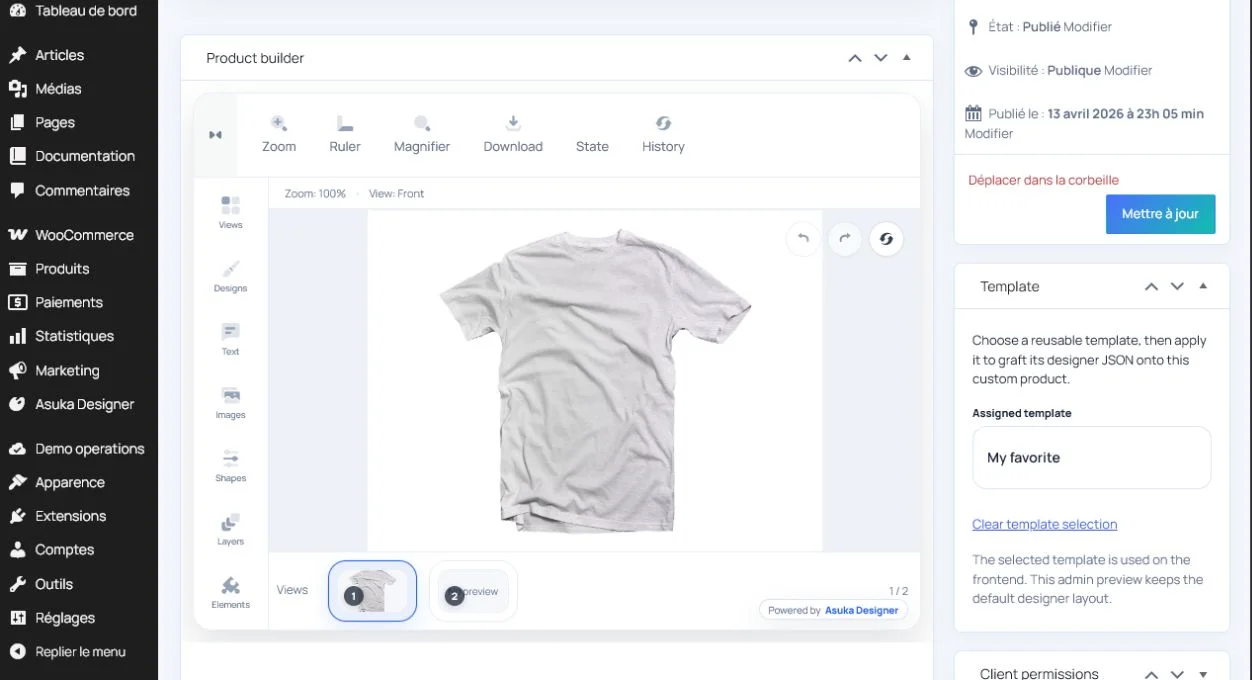
Create an empty view or choose an image.
Enter physical output dimensions.
Save the view.
Prepare and verify customer editing
Fit and lock the base element, then add drawing areas, markers, allowed content modules, color or printing constraints, and a customer preview. Keep development-only tools out of the storefront template.
Publish only after saving, reloading, and testing the same view on desktop and mobile.
Lock the base element.
Add one customer-editable area.
Test text, image, or design insertion.
Publish and open the storefront preview.