
Native Shopify app
Getting started
Create, link, and publish your first customizable Shopify product in about 10 minutes.
Guide overview
1. Install and open the app
Install Asuka Product Designer from Shopify and approve the requested scopes. Shopify manages authentication and billing, so no separate Asuka license key is required.
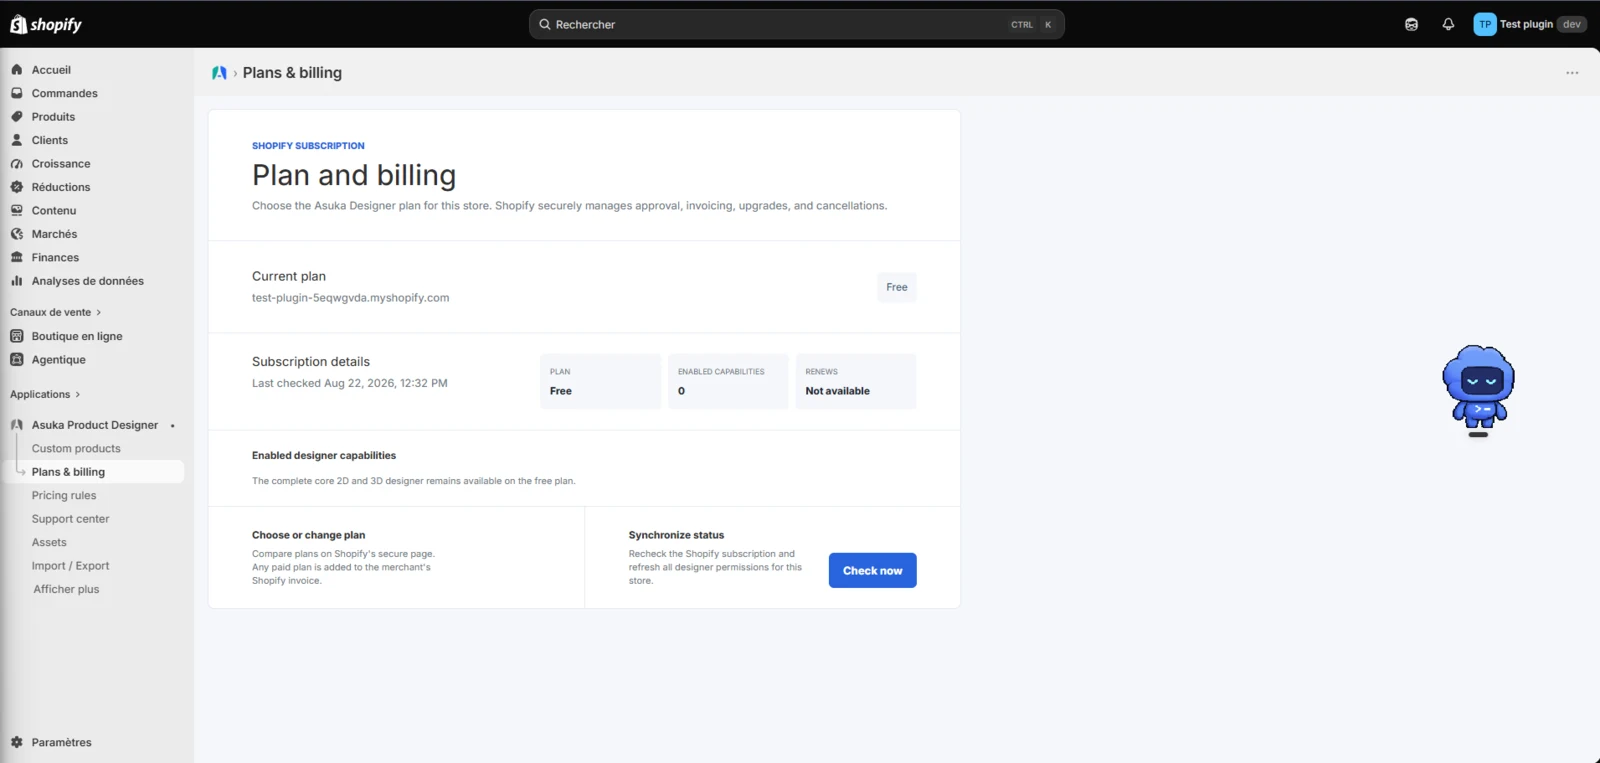
You can start on the Free plan or choose a paid plan from Plans & billing. The active entitlement is synchronized with the Asuka customer portal.
Open Asuka Product Designer from Shopify Admin.
Confirm the current plan under Plans & billing.
2. Create a reusable custom product
Open Custom products and choose New custom product. A new product intentionally starts without a view so that you can build the exact 2D or 3D workspace you need.
Add the views, assets, elements, variations, customer template, and customer theme required by the storefront, then save the custom product.
Create the custom product.
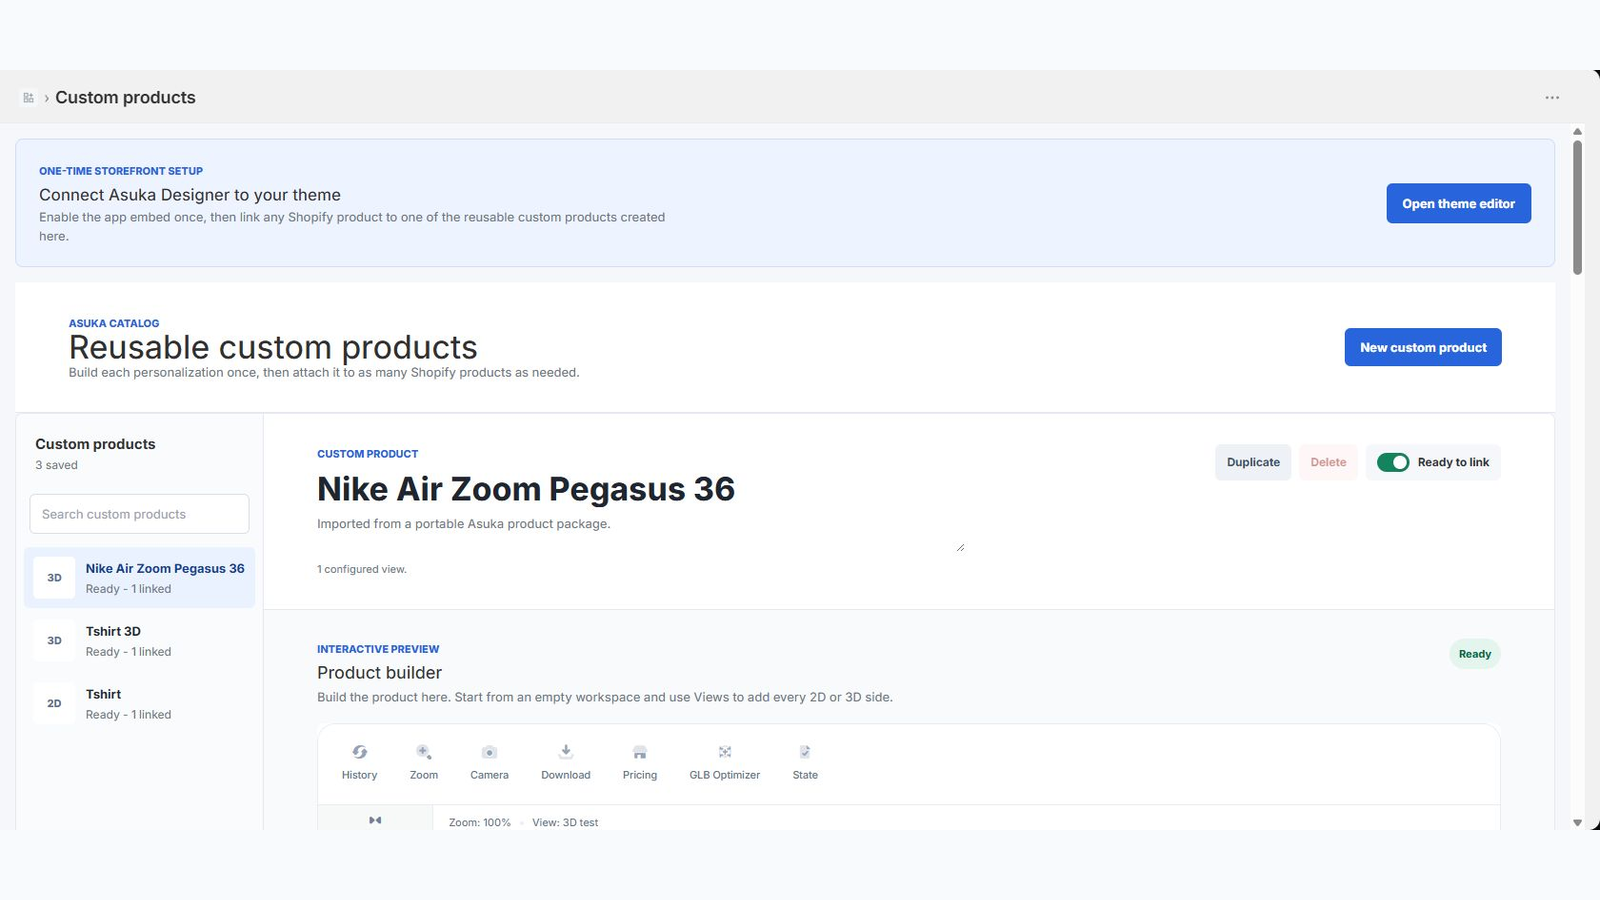
Add at least one 2D or 3D view.
Configure the customer-facing tools and choices.
Save the product.
3. Link it to a Shopify product
Open the Shopify product that customers will purchase. Add the Asuka Product Designer administration block if it is not already present, then choose the reusable custom product.
For products with variants, keep one default custom product or assign a different custom product to individual variants. Save the Shopify product after reviewing the mappings.
Open Shopify Admin > Products.
Select the Shopify product.
Add or open the Asuka Product Designer block.
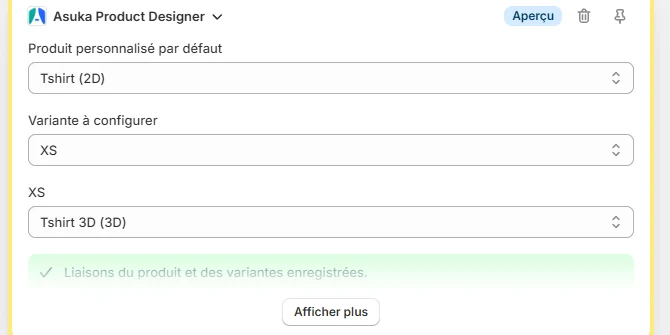
Choose the default custom product and any variant overrides.
Save the Shopify product.
4. Enable automatic storefront display once
When the app shows the Automatic storefront display reminder, choose Open Theme Editor. Shopify opens the active theme with the Asuka Designer app embed already enabled in the editor.
Simply click Save in Shopify. This is the only theme step required for automatic placement on linked product pages.
If you choose Don't show again, only the reminder is hidden. Settings > Automatic storefront display always keeps Manage app embed available, and Show reminder again restores the alert.
Choose Open Theme Editor from the reminder or Settings.

Confirm Asuka Designer is enabled under App embeds.
Click Save in the Shopify Theme Editor.
5. Test the complete customer journey
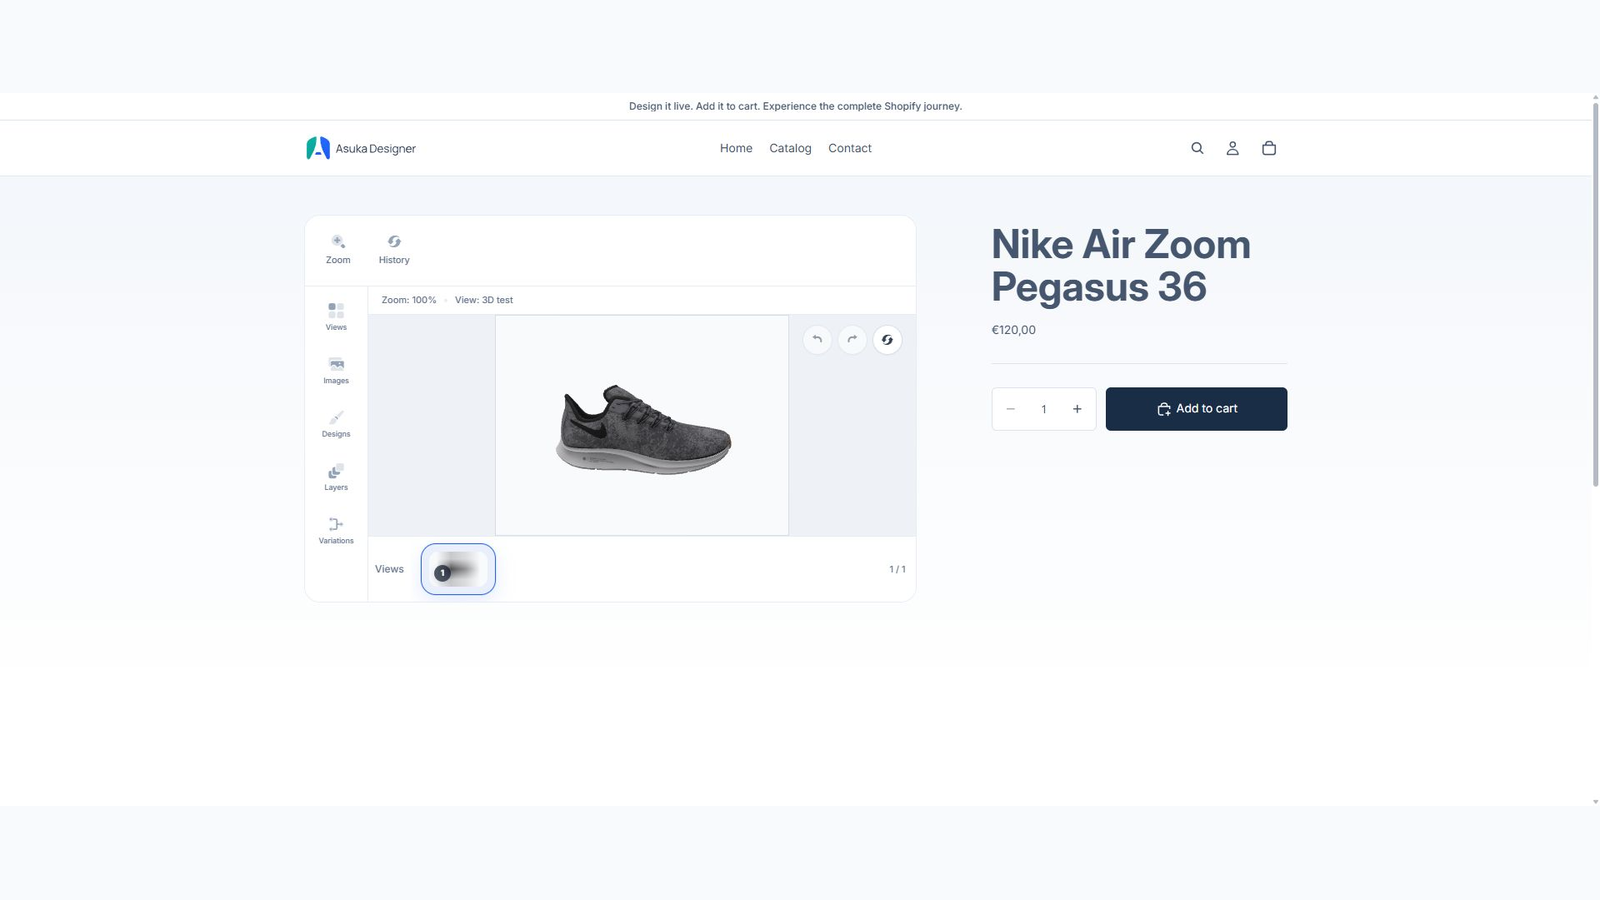
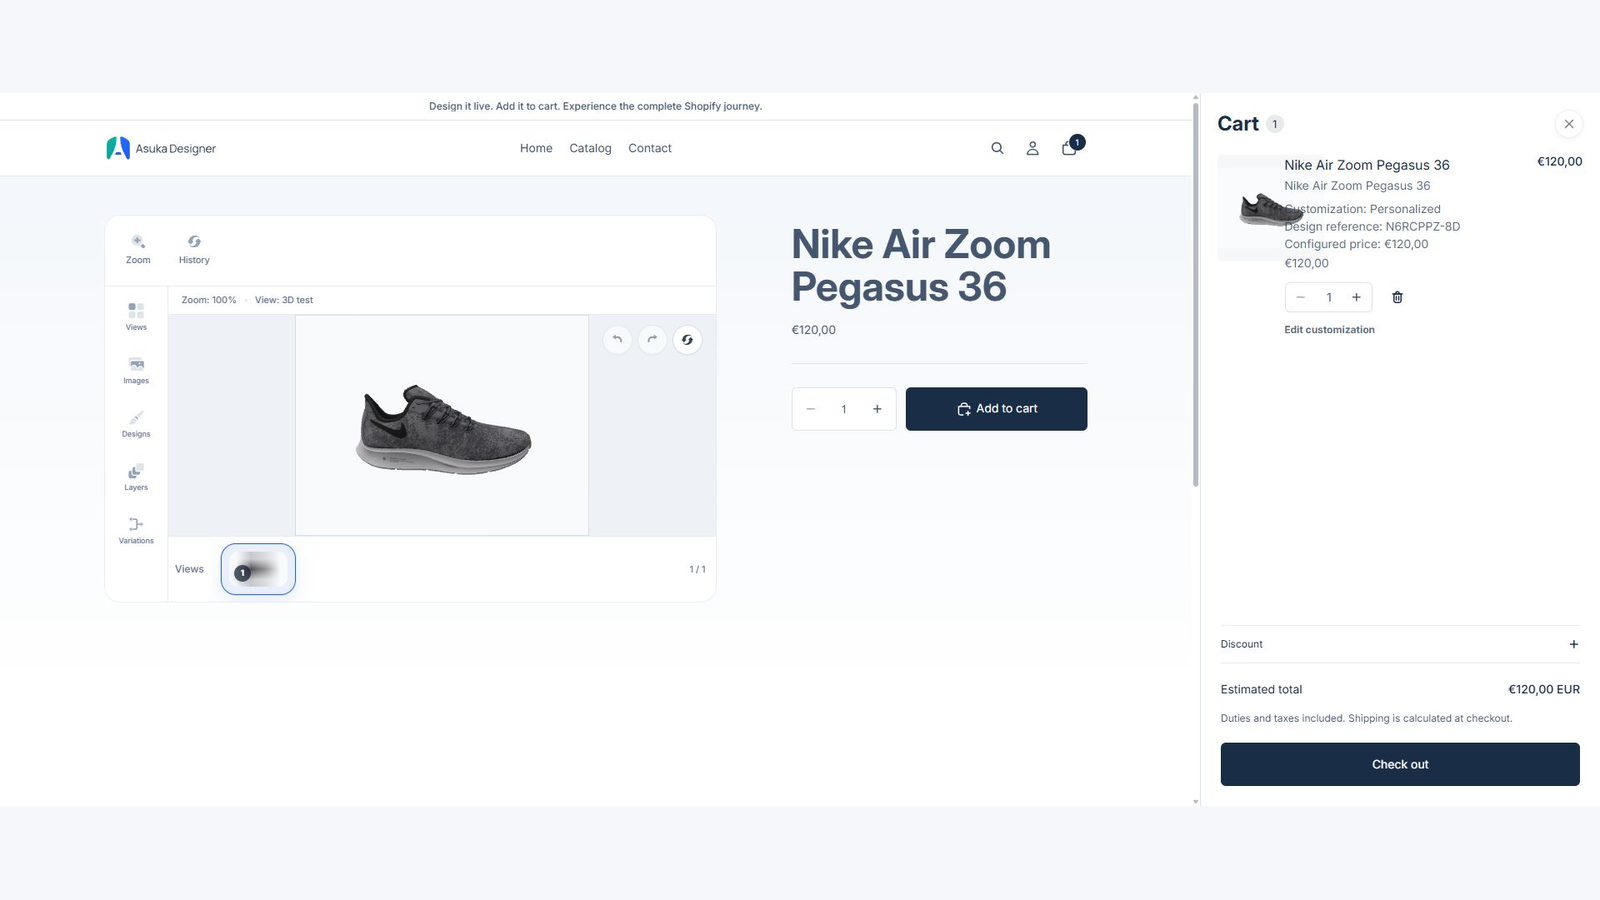
Open the linked product in the online store. The designer should appear automatically in the product media area and follow Shopify variant changes without reloading the page.
Complete one customization and verify the live price, the single Add to cart button, the generated preview, readable cart details, and Edit customization. Repeat the check on desktop and mobile.
Open a linked storefront product.
Change a Shopify variant when applicable.
Apply a customization and confirm the price.
Add the product to the cart.
Verify the preview, details, and edit link.
Repeat on mobile.