Native Shopify app
Pricing rules and Shopify checkout validation
Create reusable configuration surcharges in the app, attach them to products, and keep Shopify totals authoritative.
Guide overview
Create a reusable rule
Open Asuka Product Designer > Pricing rules. Define the rule condition, adjustment, priority, and active state, then give it a name merchants can recognize when assigning it.
Use one focused rule for each business decision so products can combine only the adjustments they need.
Create the rule.
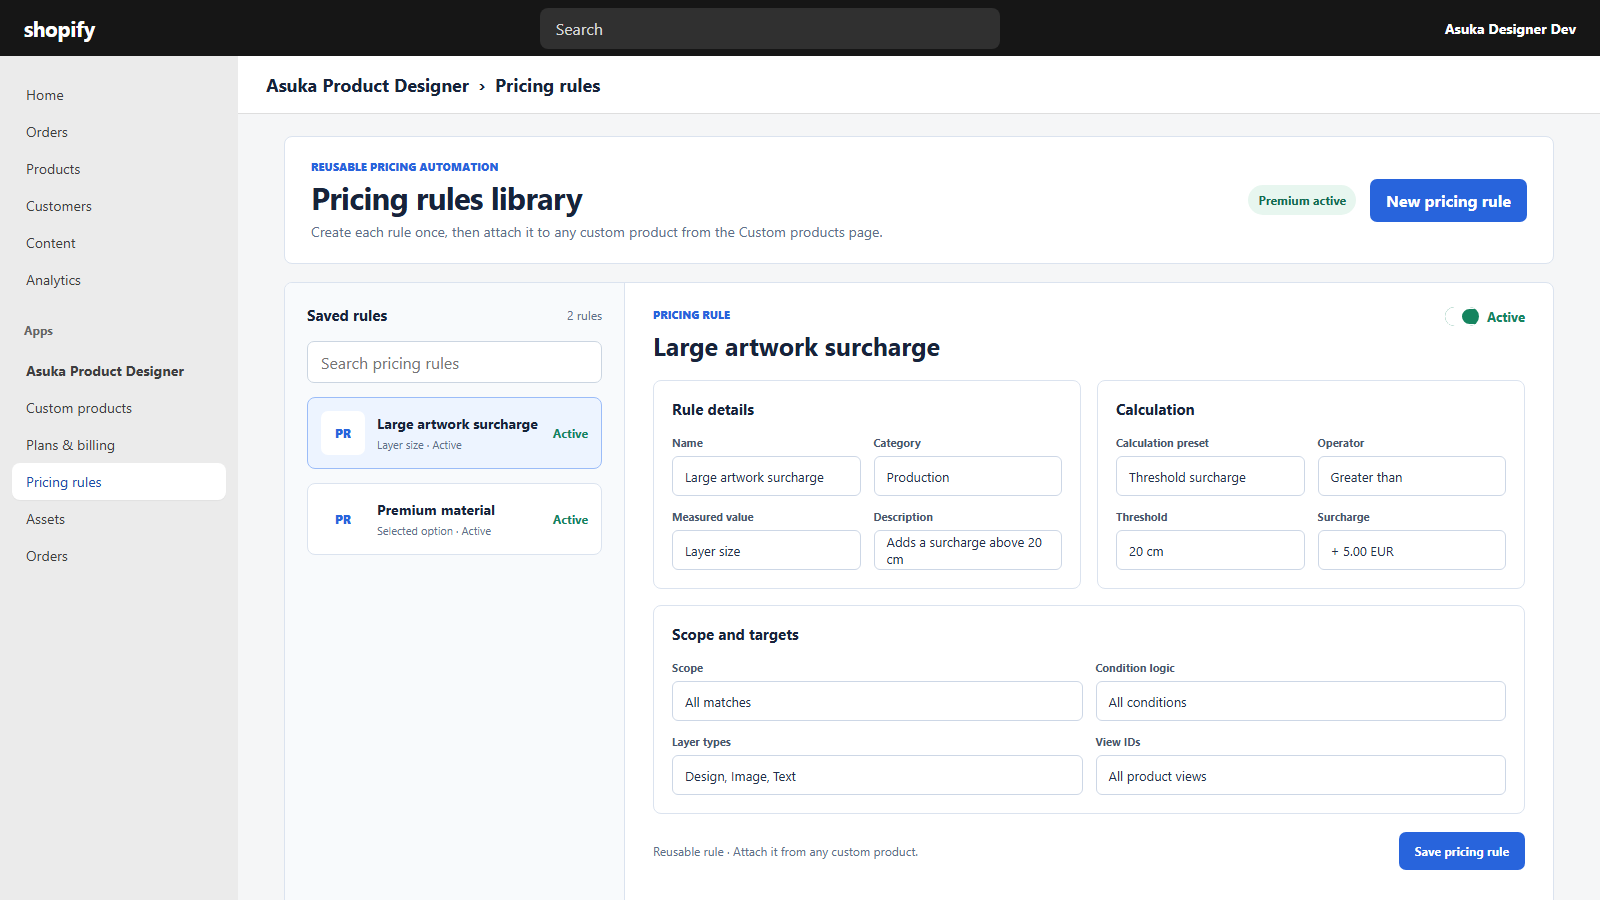
Configure the supported condition and adjustment.
Save it inactive while testing.
Attach it to a custom product
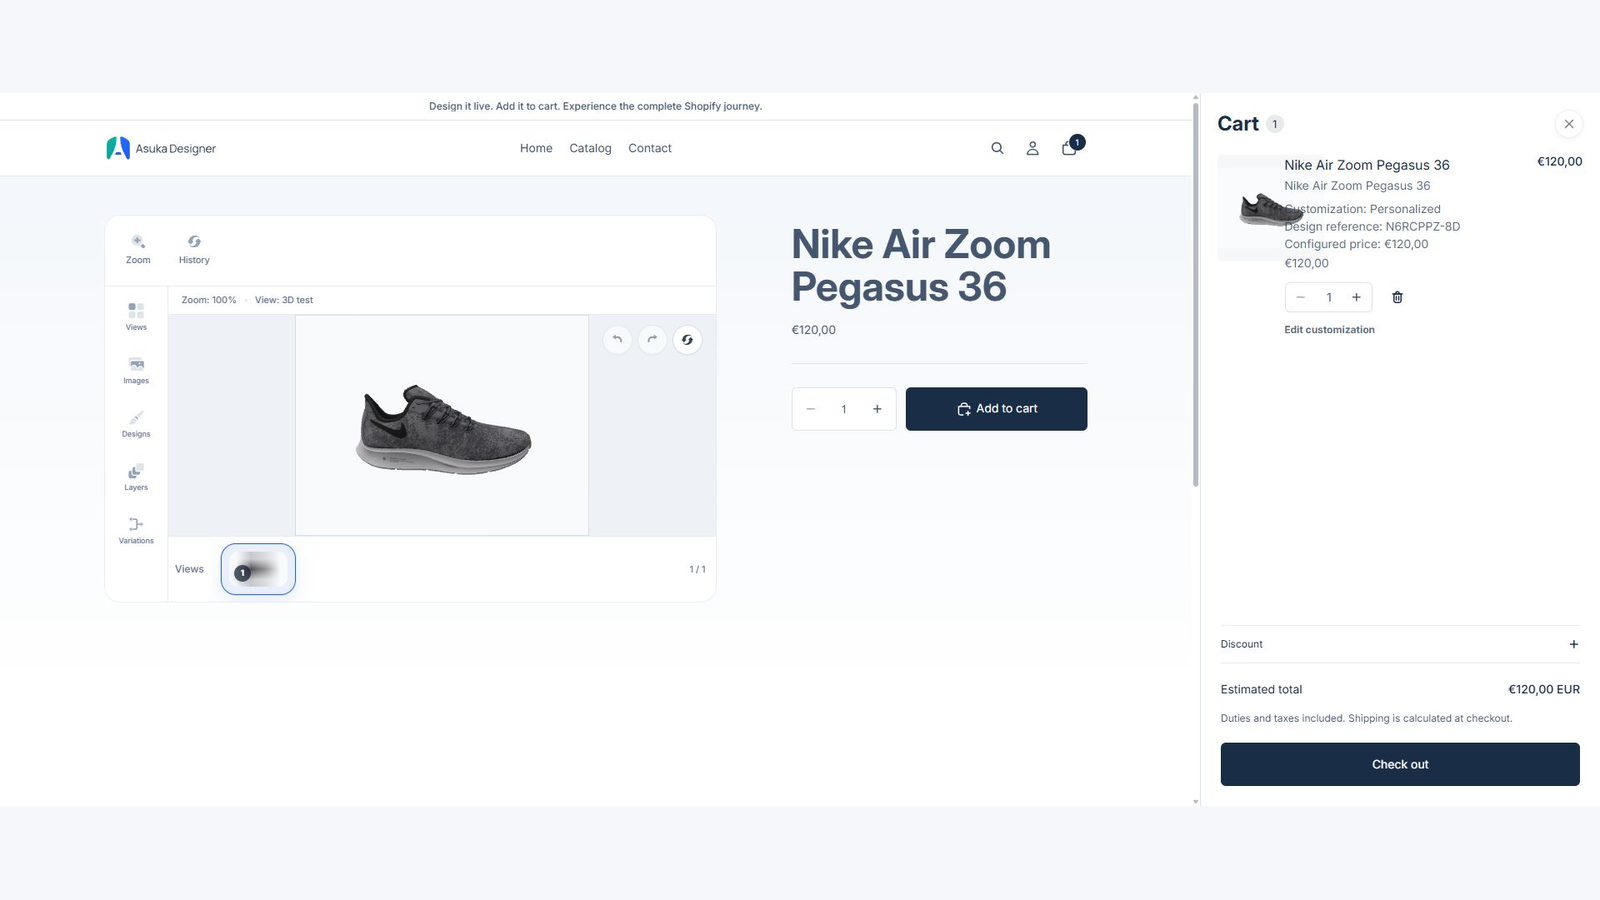
Open the custom product and select its applicable pricing rules. The Shopify variant price remains the base price; Asuka displays a structured customization adjustment and final total.
Variant-specific custom products can use different rule sets because the rules belong to the mapped custom product.
Attach the rule.
Save the product.
Test matching and non-matching choices on the storefront.
Keep checkout authoritative
The app passes signed configuration data while Shopify Functions validates the allowed adjustment in cart and checkout. The storefront must keep one native Add to cart action.
Compare product page, cart drawer, cart page, checkout, and order totals before activating a rule.