
Native Shopify app
Build a 2D custom product in Shopify
Create a reusable product configuration in the embedded app before linking it to any native Shopify product.
Guide overview
Before you start
- The app opens successfully in Shopify Admin.
- The current plan allows the intended modules.
- A product image and production dimensions are ready.
Expected result
A saved custom product contains a valid 2D view, controlled customer tools, and a Ready status without a separate readiness switch.
Create the custom product record
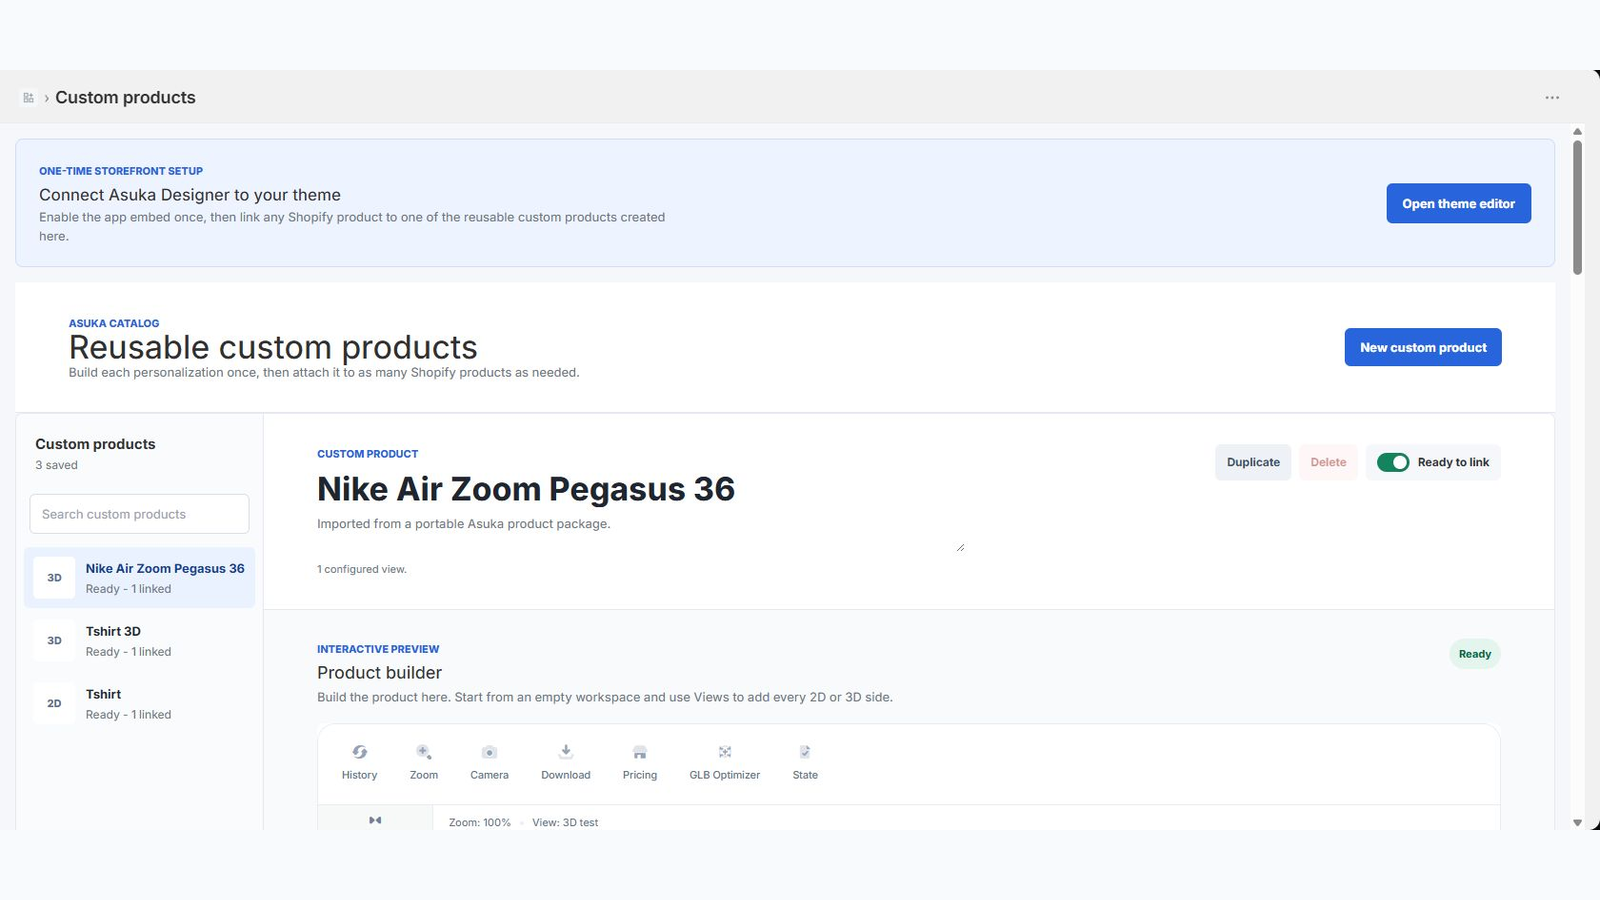
Open Asuka Product Designer > Custom products and create a clearly named entry. This record is independent from the Shopify catalog so it can be reused by several products or variants.
A new record starts with no view and is not ready until at least one configured view is saved.
Choose New custom product.
Enter an internal title.
Open the builder.
Confirm the empty initial state.
Create and scale the 2D view
Add an empty view or create it directly from a product image so the app creates both the canvas and base element at the media ratio. Enter physical dimensions and resolution for production output.
Lock the product media, then add drawing areas, markers, elements, variations, and the customer content tools required for that side.
Create the view.
Enter dimensions and resolution.
Fit and lock the base element.
Save the product.
Set the customer experience
Choose the customer template, theme, asset filters, pricing rules, and locale behavior. Preview desktop and mobile before linking the custom product to Shopify commerce.
After a valid view is saved, the product becomes Ready automatically; merchants do not need a separate Ready to link action.
Assign template and theme.
Test allowed assets and actions.
Preview responsive behavior.
Confirm the Ready status.