


Start with your product
Prepare product views, text, images and colors in WordPress. Use a 2D mockup or a compatible 3D model; each configuration can serve more than one catalog product.
Create your first 2D productLet shoppers add text, images and colors to your products in a 2D or 3D editor. AsukaDesigner (Asuka Product Designer) connects their design to the WooCommerce product, cart and order, so your team can prepare production from the saved customization.
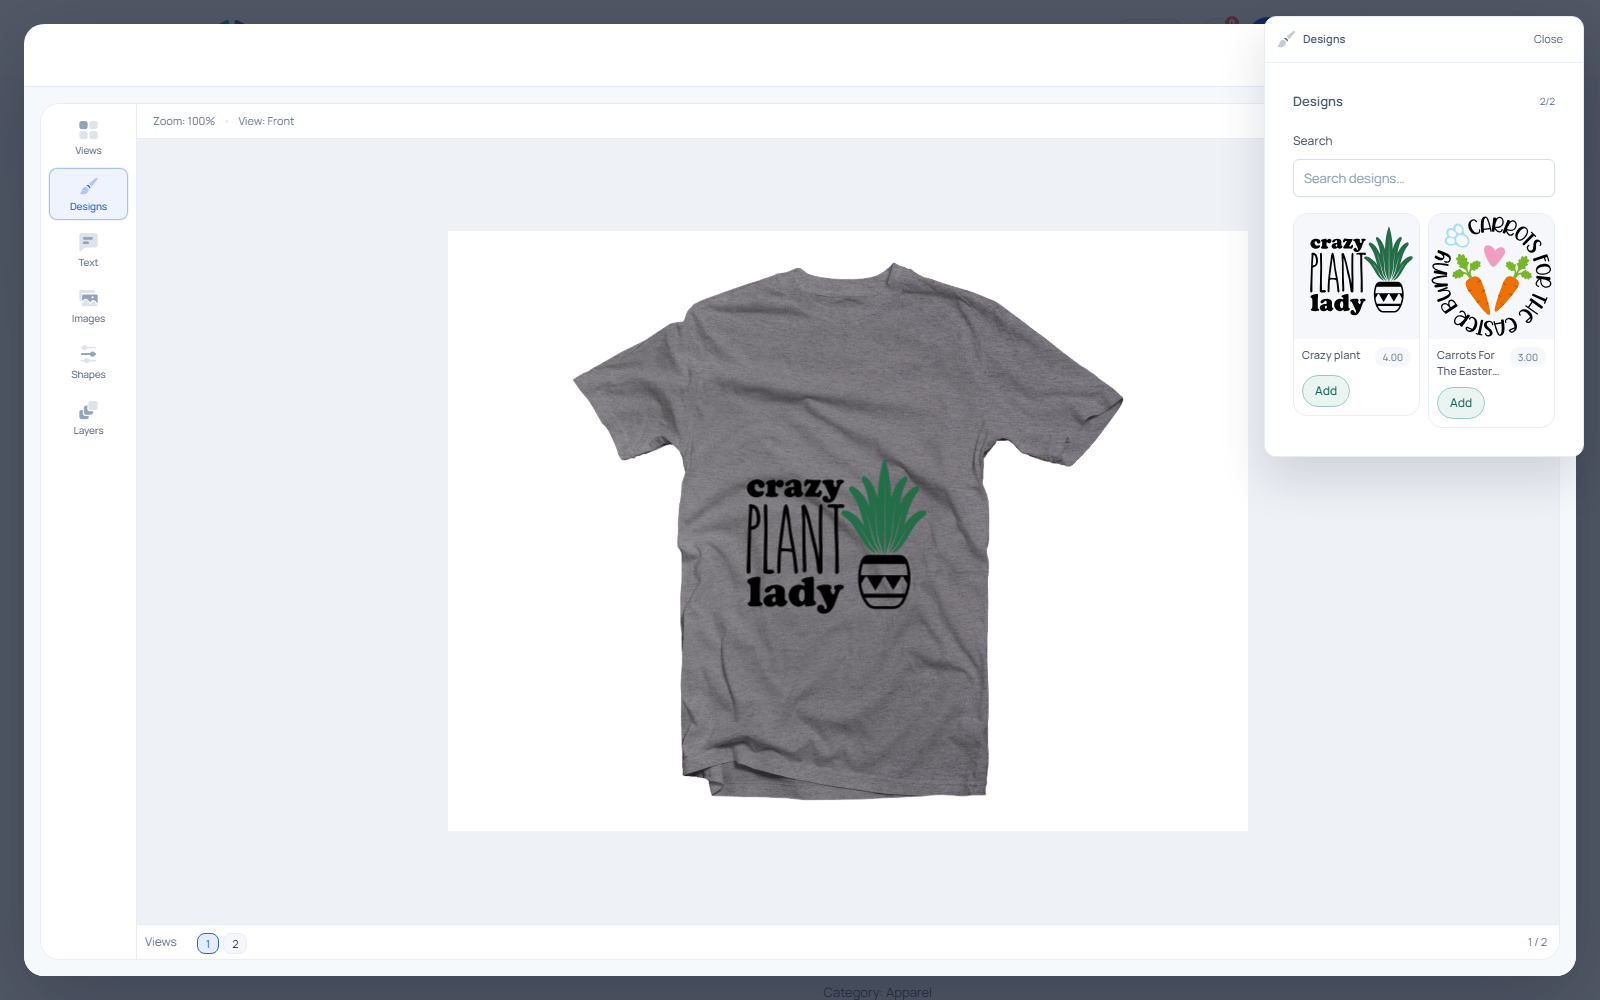
For personalized apparel, printed gifts and other products: configure the experience once, then reuse it across the relevant products in your catalog.
Prepare product views, text, images and colors in WordPress. Use a 2D mockup or a compatible 3D model; each configuration can serve more than one catalog product.
Create your first 2D productLink the custom product to a simple WooCommerce product or map its variations. Customers start the editor from your product page and add the result to the cart.
Link a WooCommerce productThe saved design reference and generated preview follow the cart item into the order. Your team can reopen the customization and inspect its production information.
Follow an order into productionThe WordPress.org plugin includes the core 2D and 3D editor without a paid key. Starter adds drawing areas; Pro and Agency add advanced pricing and export capabilities through the commercial addon. Check each plan for included features and limits.
Understand licenses and permissions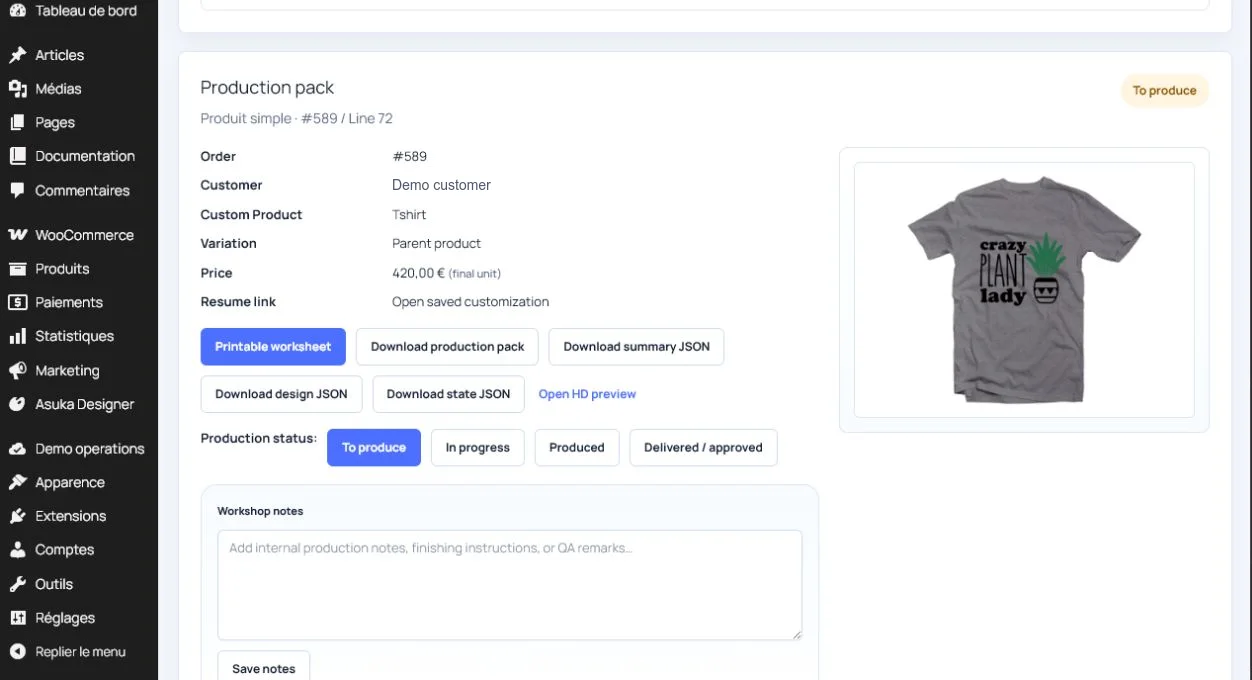
Test a complete customer journey on your shop before opening personalization to your customers.
Install the free Asuka Product Designer plugin from WordPress.org. Activate WooCommerce for the native shop integration. A portal license is only needed for a paid plan.
Follow the installation guideChoose a product mockup, prepare its views and enable the editing tools your customers need. Start with a simple configuration you can test from end to end.
Configure a 2D productAssign the configuration to a WooCommerce product. If the product has variations, map their visual changes and check each selection in the storefront.
Map WooCommerce variationsCreate a design, add it to the cart and place a test order. Check the saved preview, design reference and production files available with your configuration and plan.
Verify production filesKeep the free WordPress.org plugin as your foundation. Compare Starter, Pro and Agency for premium drawing areas, pricing and export capabilities, with the limits shown for each plan.